How to Fix Email Sending and Receiving Issues After Using Cloudflare Proxy

February 25, 2025

Cloudflare can make our website faster, safer, and more stable with its DNS, CDN, and DDoS protection. However, despite its benefits, incorrect configuration may cause our website to malfunction. This article will guide you on how to resolve email issues after using Cloudflare Proxy. Let’s begin.
1. Cause Analysis
After researching extensive information, I learned that the Cloudflare proxy is designed for webpage traffic (i.e., HTTP/HTTPS) and doesn’t support mail protocols (such as SMTP, IMAP, and POP3). If Cloudflare’s proxy intercepts mail server traffic, the email service will be disrupted. Additionally, Cloudflare might automatically proxy your domain, including subdomains like mail.example.com, which clearly explains the interruptions in our email service.
Therefore, we should modify the configuration to prevent our mail server traffic from being intercepted by Cloudflare. Let’s review the detailed steps below.
2. Detailed Steps to Solve the Email Problems Caused by Cloudflare
Plan 1: Set A and MX Records for Mail Server in Cloudflare
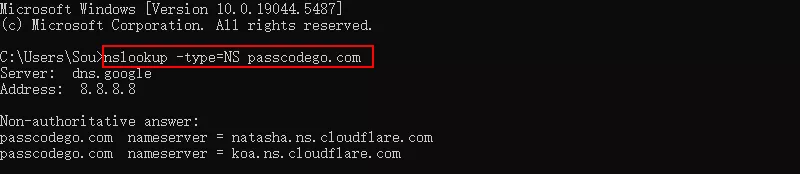
First, use the command nslookup -type=NS example.com to verify that your authoritative DNS is "xx.cloudflare.com". If it isn’t, you can switch to Cloudflare’s DNS in your domain name registrar or follow Plan 2 to resolve the issue.
Next, log in to your Cloudflare account and navigate to the DNS management page for your domain.
Locate or add DNS records related to mail, including the MX record for your domain (example.com) and the A record for your mail subdomain (mail.example.com).
Ensure you modify the Proxy Status of these records to ‘DNS Only,’ which prevents Cloudflare from intercepting mail traffic.
Here’s an example:
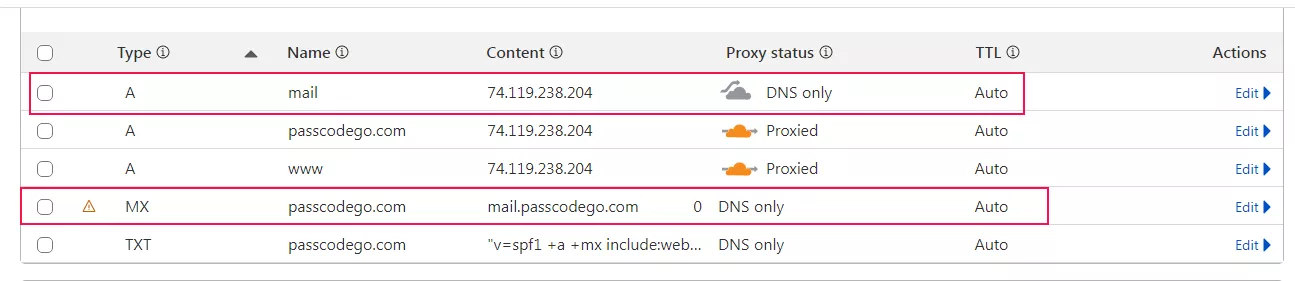
MX record for example.com: Point to mail.example.com with “DNS Only.” A record for mail.example.com: Point to your mail server’s IP with “DNS Only.”
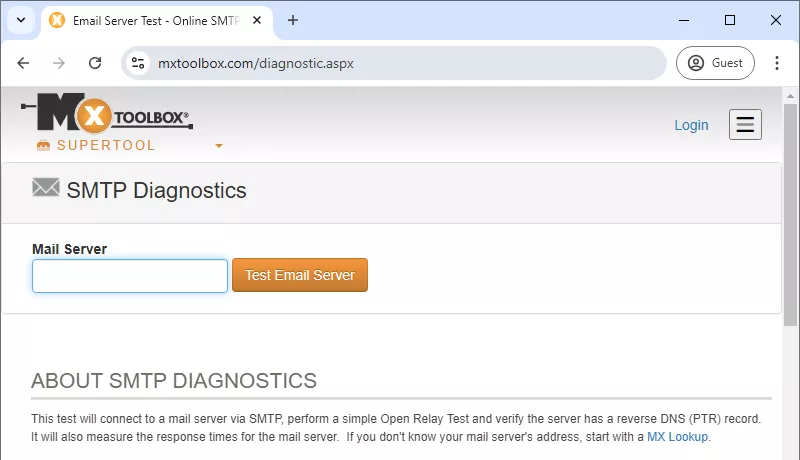
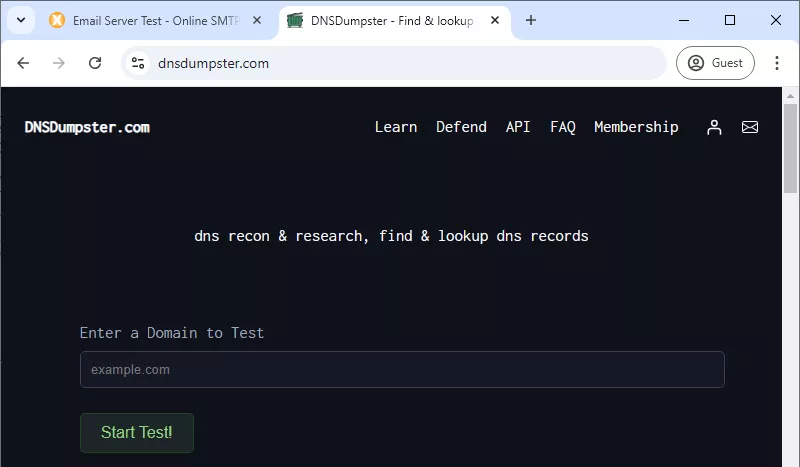
Finally, verify if the email service is functioning. You can test it by sending an email to your address. Additionally, use online tools to check the email service status, such as https://mxtoolbox.com/diagnostic.aspx and https://dnsdumpster.com.
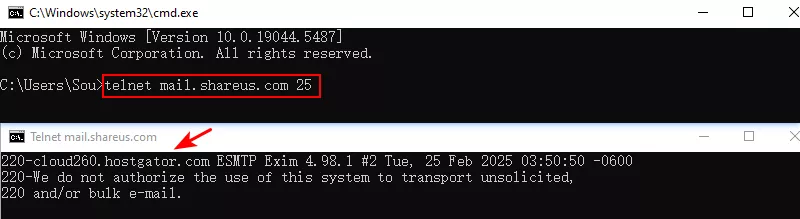
Additionally, you can use the Telnet command to check the email server status. Run these commands in Command Prompt and ensure you receive a response like ‘220 mail.yourdomain.com ESMTP’ on at least one port:
telnet mail.yourdomain.com 25
telnet mail.yourdomain.com 587
telnet mail.yourdomain.com 465
Note: If you haven’t enabled Telnet previously, you need to enable it before using it. Follow these steps:
1. Search for “Turn Windows features on or off” in the search box.
2. Click the result, then find the “Telnet Client” feature in the window that opens.
3. Check the box and click “OK,” then wait for the process to complete.
4. Perform the commands above to check the email server status.”
Plan 2: Set A and MX Records for Mail Server in Your Host Provider
If your NS record in the domain name registrar still points to the default DNS (provided by your registrar or hosting provider), you should add A and MX records for the mail server in the DNS management panel. For example:
MX record for example.com: Point to mail.example.com.
A record for mail.example.com: Point to your mail server’s IP.

3. Explanation of Terms
Authoritative DNS: Specified by NS records in the domain name registrar, it stores DNS records for your domain and has the ultimate authority over DNS resolution.
MX Record: An MX record is a DNS record that specifies the email server address for receiving emails for this domain.
A Record: An A record is a DNS record that maps a domain to an IPv4 address.
4. Conclusion
So, to sum up, the general process is to determine what your domain's authoritative DNS is, then add the correct A and MX records for your domain in the management panel of that DNS(default DNS or Cloudflare). If you still use the default DNS, ensure the records between Cloudflare and the default DNS are consistent. I hope this article helps you.
5. Further Reading
Collaborative process of domain name registrar, Hosting Provider and Cloudflare (Simplified Version):
1. Purchase a Domain
A webmaster (or entity) buys a domain (e.g., shareus.com) from a domain name registrar. After purchase, they verify domain ownership (e.g., via email) and activate it in the registrar’s management panel for DNS configuration.
2. Configure DNS
Update the domain’s NS records at the domain name registrar to point to Cloudflare’s nameservers (e.g., ns1.cloudflare.com and ns2.cloudflare.com).
In Cloudflare’s DNS management panel, set up DNS records:
Add an A record to point shareus.com to the Hosting Provider’s server IP, enabling Cloudflare’s proxy (orange cloud) for traffic acceleration and security.
Configure SSL/TLS (e.g., Cloudflare’s free Universal SSL) for HTTPS.
Add MX records if email services are needed.
Wait for DNS propagation (typically 24-48 hours) for global DNS updates.
3. Deploy the Website
Upload website files (HTML, CSS, images, etc., or dynamic site code and databases) to the Hosting Provider’s server.
Configure the server:
For static sites, place files in the web server root (e.g., /var/www/html).
For dynamic sites, install and configure a web server (e.g., Nginx or Apache), runtime (e.g., PHP, Python), and database (e.g., MySQL).
Open necessary ports (e.g., 80 for HTTP, 443 for HTTPS) and test server access.
4. Traffic Proxy (Following DNS Rules)
Users visit shareus.com in their browser, and the request routes to Cloudflare’s CDN.
Cloudflare filters attacks (e.g., DDoS), accelerates content via caching, encrypts traffic (if SSL/TLS is enabled), and forwards the request to the Hosting Provider’s server.
The server processes the request, returns the resources, and Cloudflare delivers them to the user, optimizing performance.
If there’s a misconfiguration (e.g., DNS issues, server downtime), users may see errors (e.g., 503), requiring troubleshooting.