5 Steps to Customize Keyboard Shortcuts Word in Windows 10 & 11

December 23, 2021
Since you have already been here, you must want to change the keyboard shortcut keys in the software Microsoft Word, I assume. As we all know, keyboard shortcuts can get us to do and finish our work more efficiently ( if we can properly take advantage of them). There are some common shortcut keys that we find particularly handy to use. For example, we press Ctrl + C when it comes to copying, and hit Ctrl + V when it comes to pasting.
But that’s not the whole story, as we sometimes need to press some wired shortcuts to get what we need. Therefore, we indeed need to know how to change them to other keys if we want.
So I will teach you how to create a shortcut in Word in the most convenient way which includes 5 steps.
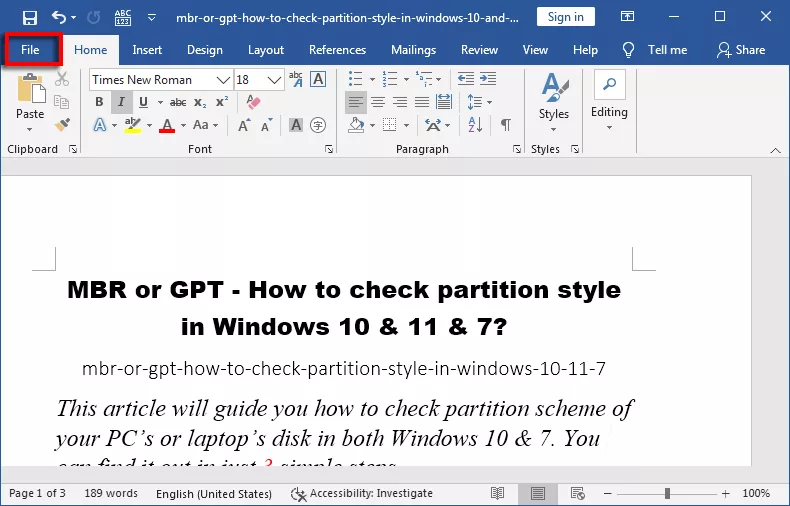
Step 1
Click File on the Ribbon.
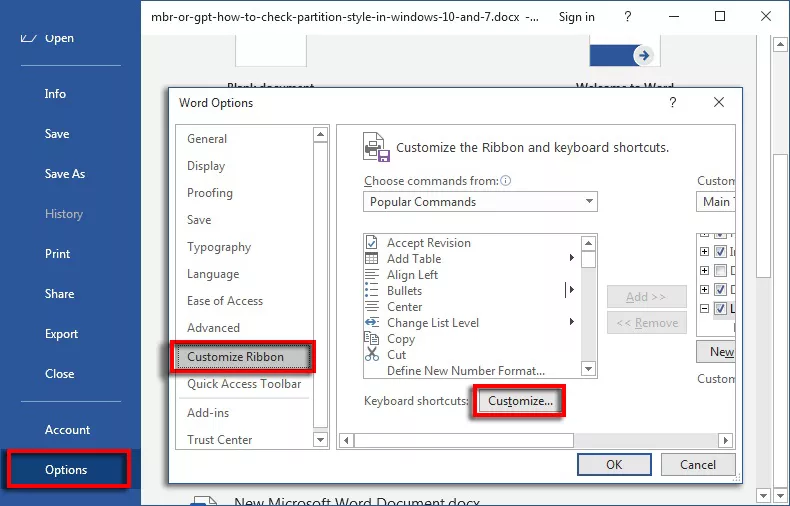
Step 2
Tap Option > Customize Ribbon > Customize….
Step 3
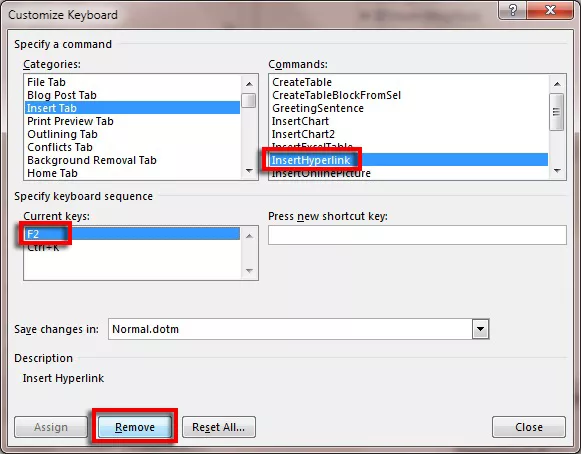
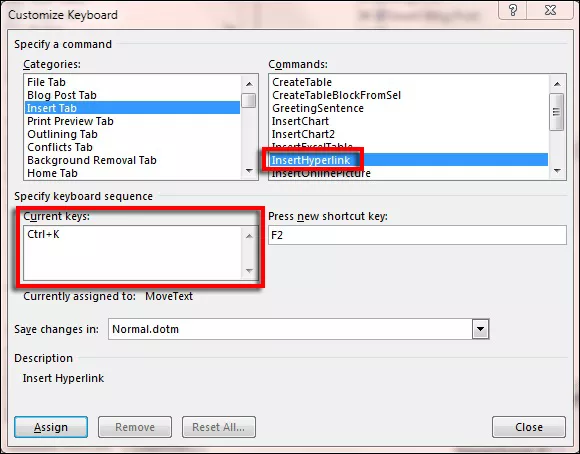
On the Customize Keyboard window, find the command name to the shortcut you want to customize. First, check in Categories and then in Commands.
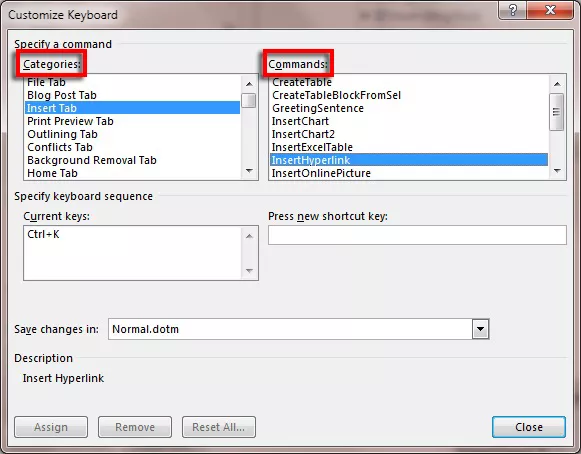
Step 4
Click it in the command list and you will see the Current keys of it on the box below (if any).
Step 5
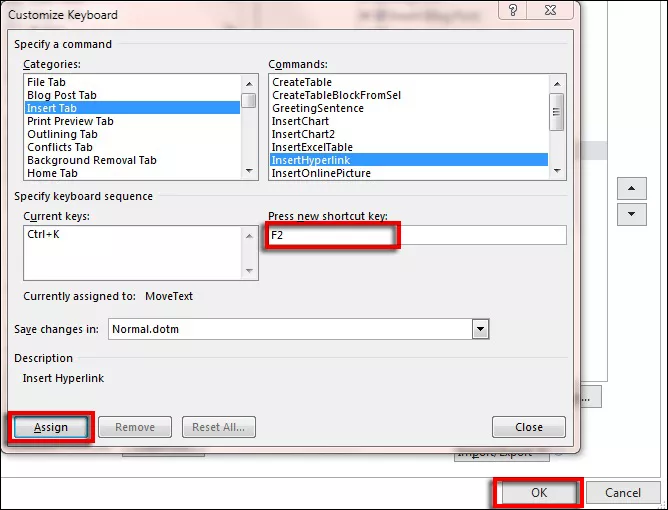
Click on the blank of Press new shortcut key box, just press the keys you want on your keyboard, and then click Assign > Close > OK.
Tips:
To remove current shortcut keys, please first repeat Steps 1 ~4 above. Then select the one you want to remove in the Current keys box and tap Remove below. It's quite easy, actually.