How to Add App or Program to Startup in Windows 11

If you want any App, Program, or File to start automatically when your computer starts, you can do so by adding the App or Program to your computer's Startup folder, which will make those particular Apps, Programs, or Files always at your disposal.
Let's go ahead and see the different ways to add App, Program or files to startup programs in Windows 11.
Solution 1: Add programs to startup using task manager
Step 1: Press Ctrl+Shift+Esc keys together to open Task Manager.
Note: you can also launch Task Manager by right-clicking the Start button and selecting Task Manager in the menu.
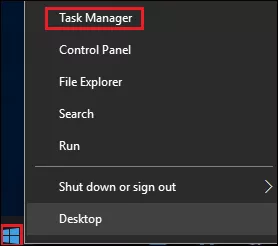
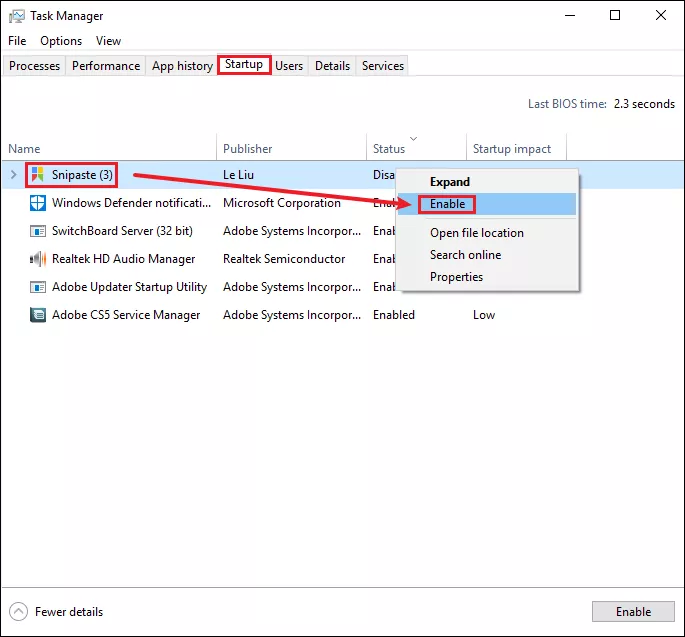
Step 2: On Task Manager screen, switch to the Startup tab, right-click the program that you would like to add to Startup, and select Enable option in the context menu.
Solution 2: Add Apps to startup using the run command
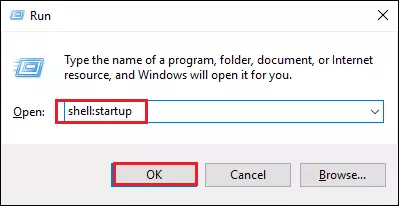
Step 1: Press Windows+R to launch the Run command.
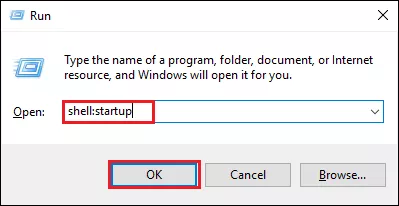
Step 2: Type in shell:startup, then click OK to open the Startup folder on your computer.
Step 3: Open the Run command again and type shell:appsfolder and click OK to open the modern Apps folder on your computer.
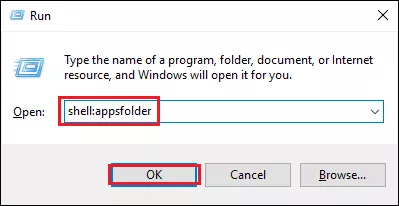
Step 4: In the Apps folder, choose the App you want to launch when you start your computer and drag it to the Startup folder.
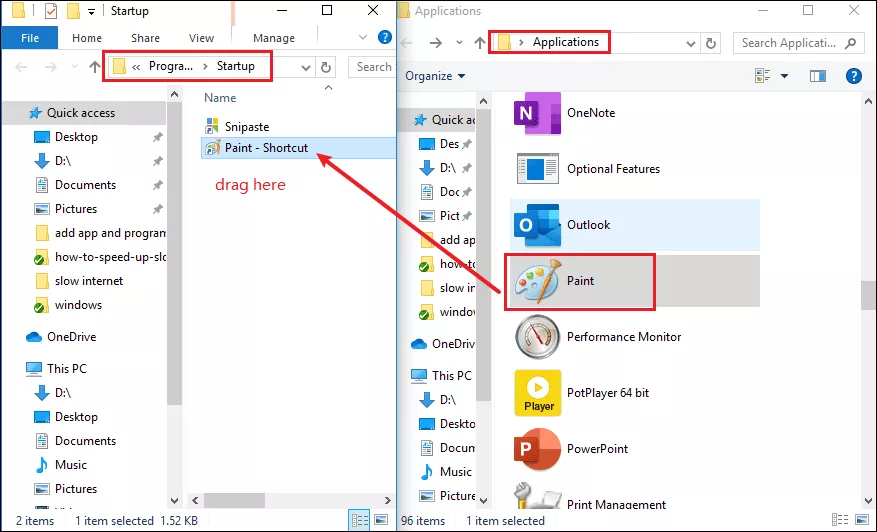
Solution 3: Add word files to startup
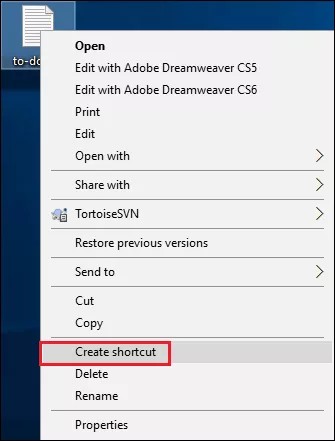
Step 1: Right-click the File you want to launch on your computer and click Create Shortcut option in the context menu.
Step 2: Press Windows+R key together to launch Run command and type shell:startup and click OK to open the Startup Folder.
Step 3: Drag the shortcut that you had created into the Startup folder.
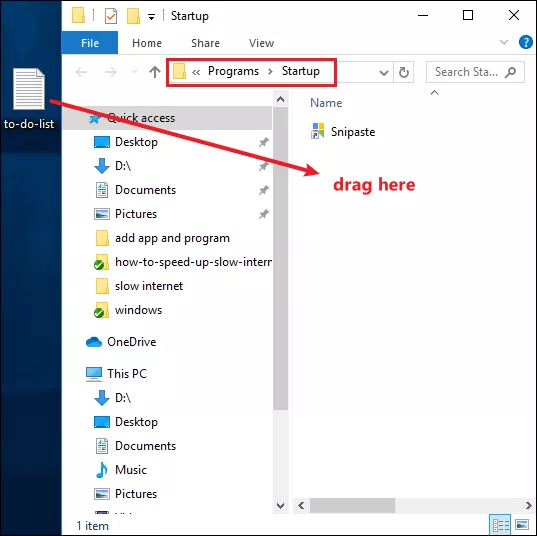
Note: you can also use copy(Ctrl+C) or Paste(Ctrl+V) commands to copy the shortcut into the Startup folder.


