How to Add Extra Clocks for Different Time Zones in Win10 and 11?
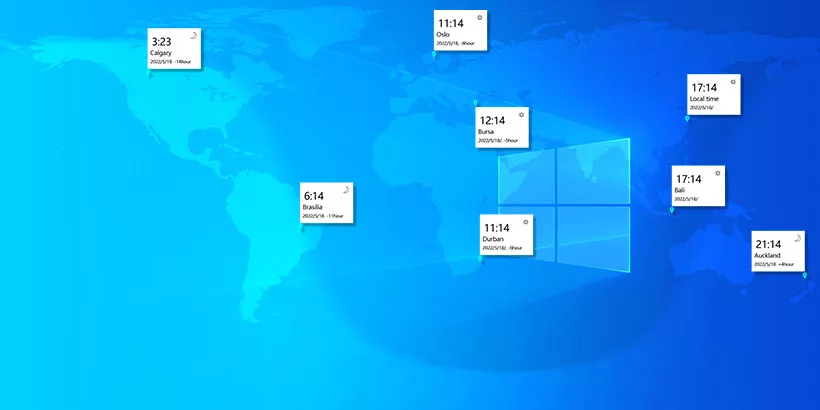
If you work online with people who work in different time zones around the world, if you would like to communicate with friends and family located around the world with the rest of the world, or if you are traveling and want to track the time of your current location and the time of the country you are in at the time. You may expect to see multiple clocks on your PC. Fortunately, the Windows 10/11 operating system allows you to set up three different clocks on your PC: a local clock as well as clocks for the other two time zones. In this article, we will show you how to add extra clocks for different time zones in win 10 and 11.
Step 1
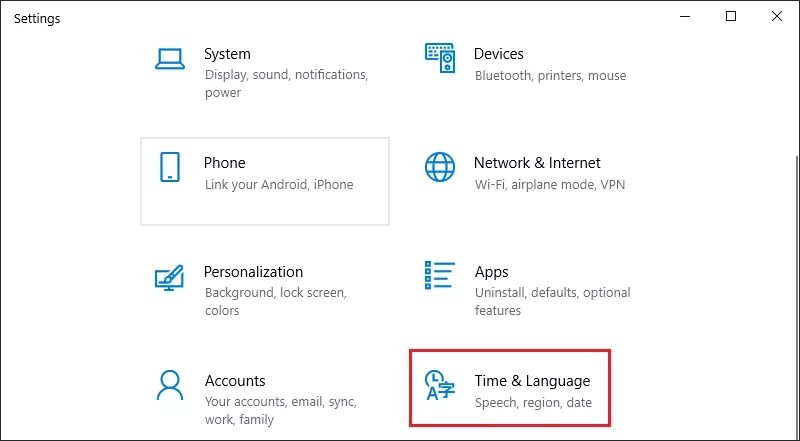
Use the keyboard shortcut Windows + I to open windows settings and find Time & language.
Step 2
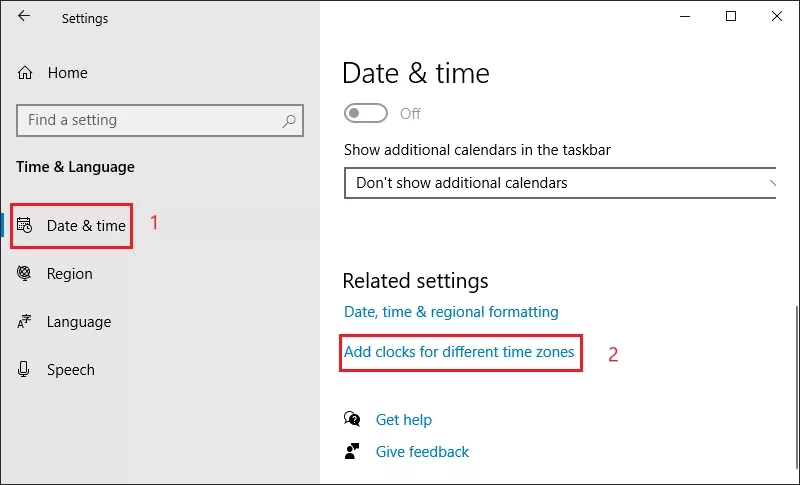
Click on the Date & time, slide to the Related settings at the bottom and click on add clocks for different time zones.
Step 3
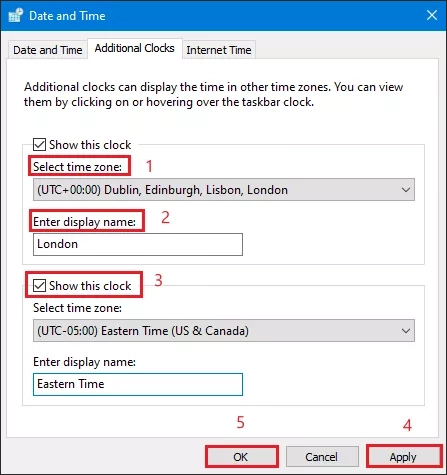
Select the time zone you want to add and enter the name you want to display, for example, if you want to add London time, you can find London in the drop-down options, and then enter display time to fill in London. Check Show this clock, it will be displayed in the taskbar. The second clock is also set in the same way, and finally, click Apply and OK to finish adding the clock settings.
Step 4
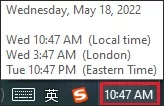
When you click on the time area of the taskbar, you can see the two clocks you just added.

Step 5
When you hover your cursor over the time area on the taskbar, you can also see two extra clocks for two different countries, as well as the default time for the current location.
