How to Downgrade Windows 11 to Windows 10 - Clone C Drive

Some people want to try upgrading their Windows 10 to Windows 11 but they are afraid that they can't downgrade it to the original one if they don't like the brand new Windows 11. So this article will tell you how to clone your system C drive in advance & you'll be able to downgrade it anytime anywhere. Alternatively, you can keep both Windows 10 & 11 on your computer by dual-booting.
Note: If you have already upgraded to Windows 11 and you still want to downgrade now, read How to Downgrade from Windows 11 to 10 - GO BACK Function.
1. Make Boot Disk
Step 1: Download CloneGO for a free trial.
Download: CloneGOStep 2: Run it after installation is finished.
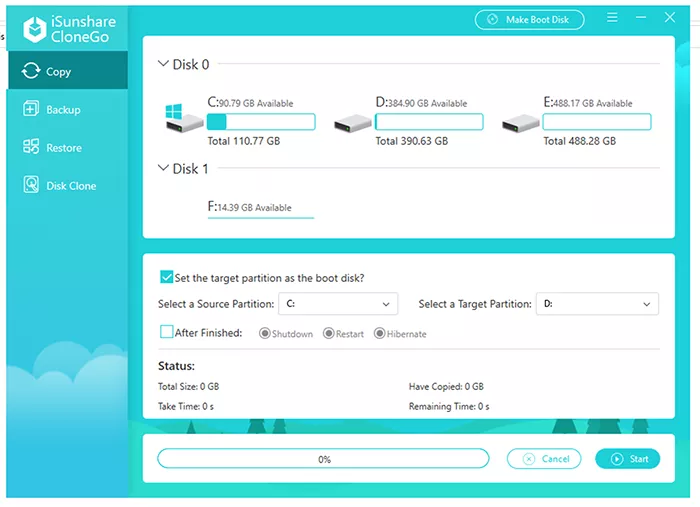
Step 3: Insert your flash drive (more than 8 GB) & back up your USB if needed.
Tips: CloneGo can also be used to back up your USB data.
Step 4: Click Make Boot Disk and select OK.
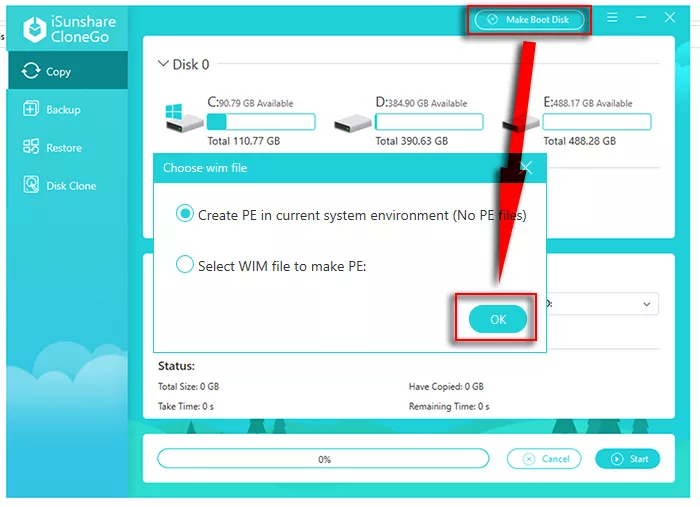
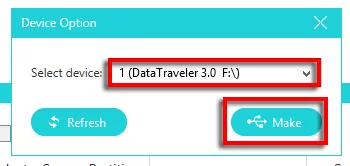
Step 5: Select your USB device and click Make.
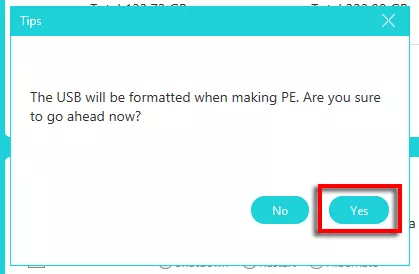
Step 6: Tap Yes.
Step 7: Wait for a while.

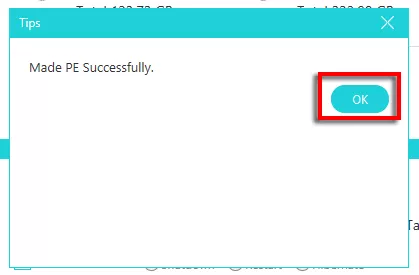
Step 8: Click OK to finish.
2. Clone C Drive
Before this, you need to know how to set USB as boot device (in Step 1 to 2).
Step 1: Restart by selecting USB as boot device, and CloneGo will open automatically.
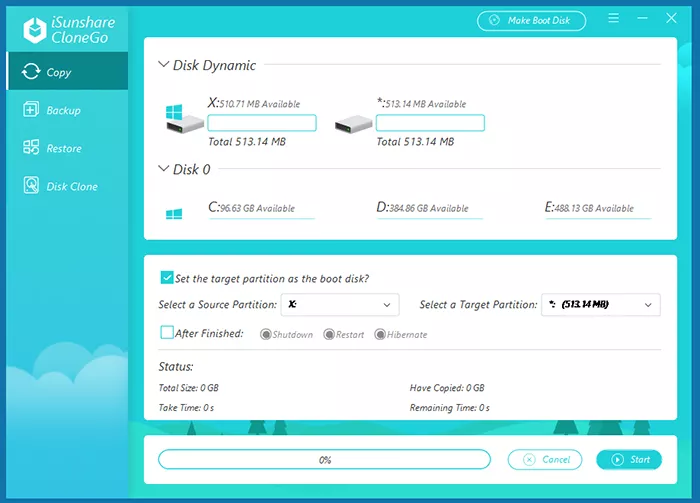
Step 2: Select Backup in the left panel & C (system) drive in the right, and then Choose.
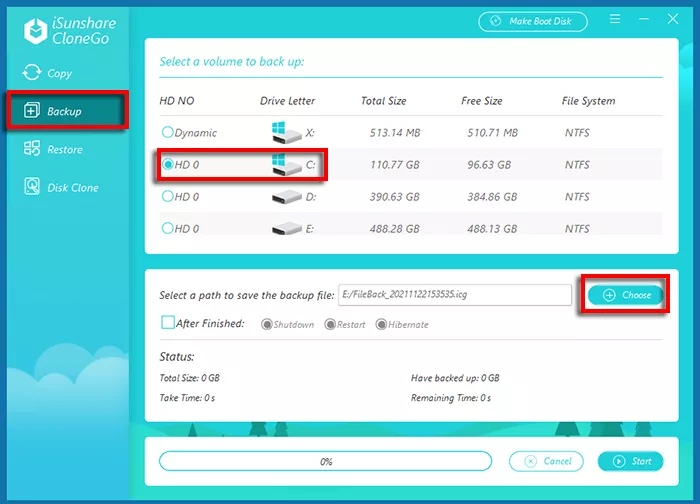
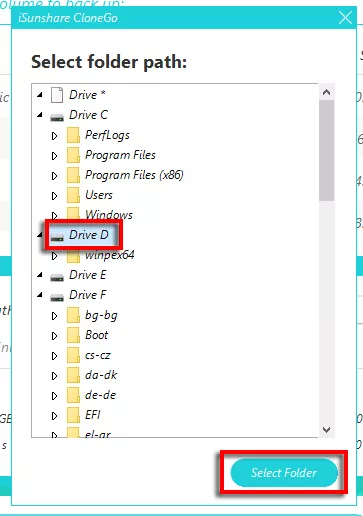
Step 3: Select a location to store *.icg backup file.
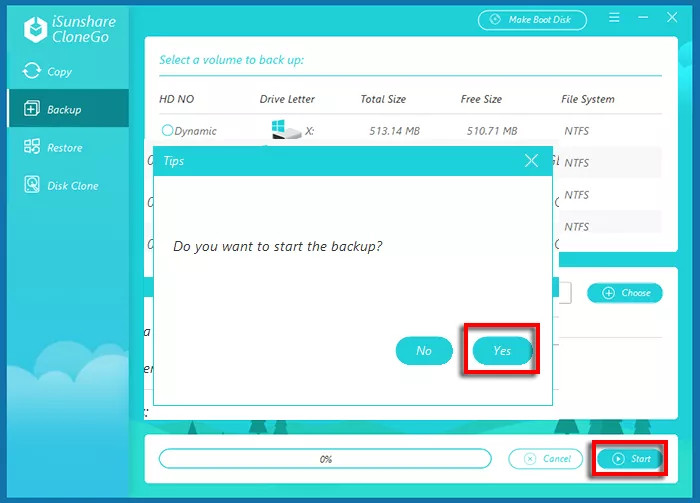
Step 4: Click Start > Yes.
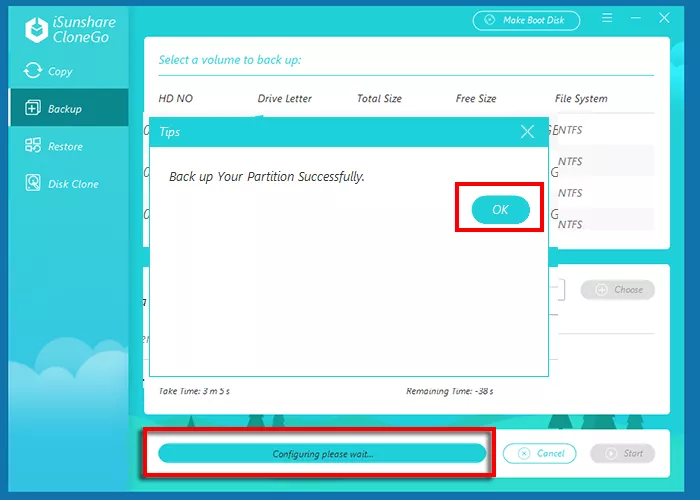
Step 5: When the backup is finished, tap OK.
3. Downgrade to Windows 10
Someday, when you want to go back to Windows 10, just take the few steps below. Back up valuable data in C drive generated after Windows 11 is upgraded.
Step 1: Insert your USB.
Step 2: Boot your computer and set USB as boot device again, and then CloneGo will automatically pop up.
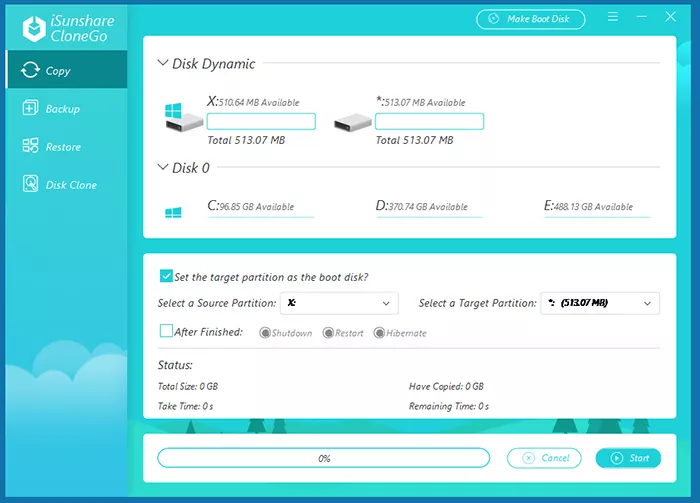
Step 3: Select Restore and click C (system) drive.
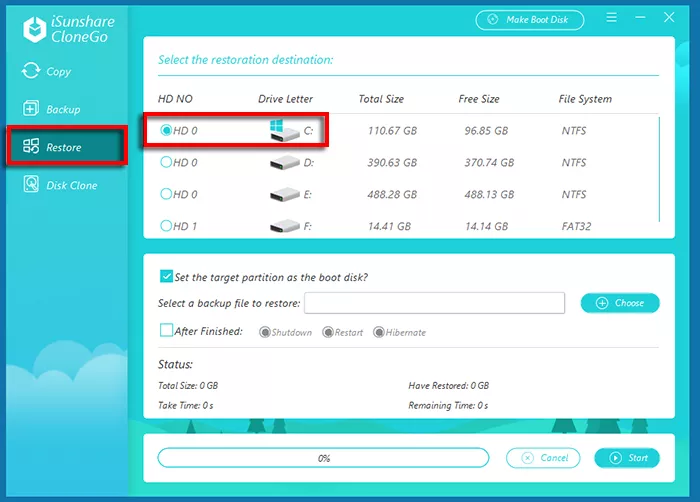
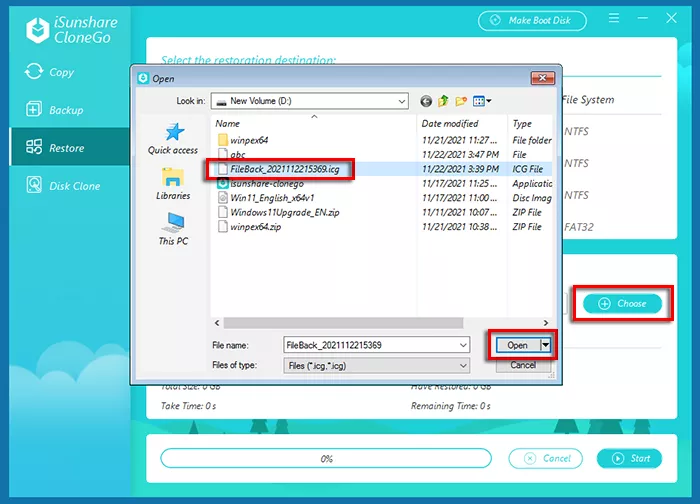
Step 4: Click Choose to select the *.icg backup file and click Open.
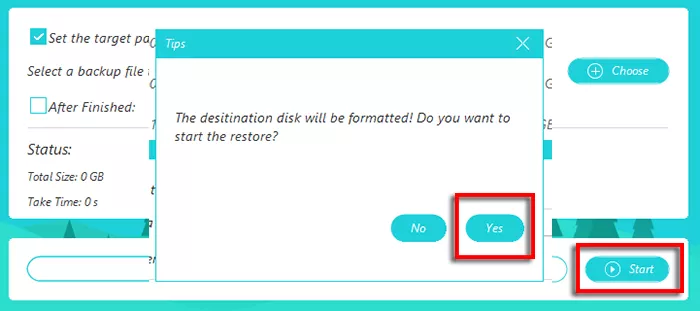
Step 5: Click Start and tap Yes when prompted.
Step 6: Wait until it Restores the Backup Successfully and click OK.
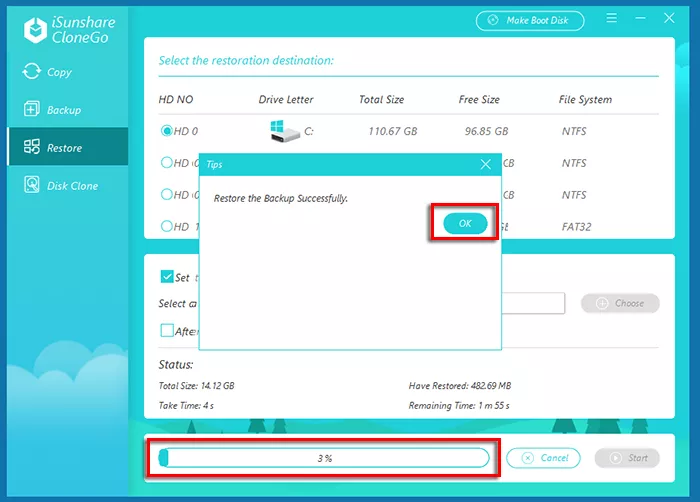
Step 7: Restart and you’re now back to Windows 10!
Watch the Video Tutorial
Downgrade Windows 11 to Windows 10 using the cloned C drive - Watch now!


