How to Create a Virtual Machine From Bootable USB in VMware?

July 16, 2024
Typically, we use an ISO image file to install an OS on a virtual machine. However, it is also possible to install an OS from a bootable USB in VMware. This article provides a step-by-step guide to help you create a VMware virtual machine using a bootable USB flash drive. By following these instructions, you can easily set up your virtual environment and install the operating system of your choice.
Part 1: Creating a Virtual Machine in Typical Mode
Step 1: Insert your bootable USB flash drive into an available USB port on your computer.
Step 2: Right-click the VMware Workstation shortcut and select "Run as administrator" to ensure you have the necessary permissions.
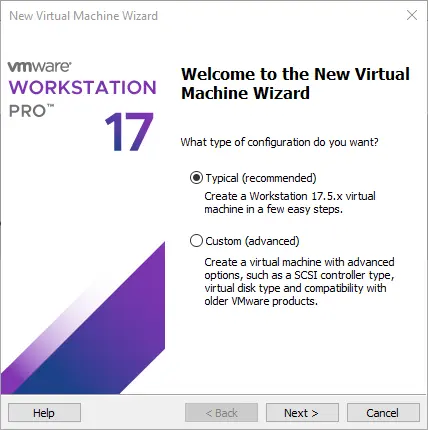
Step 3: Create a New Virtual Machine.
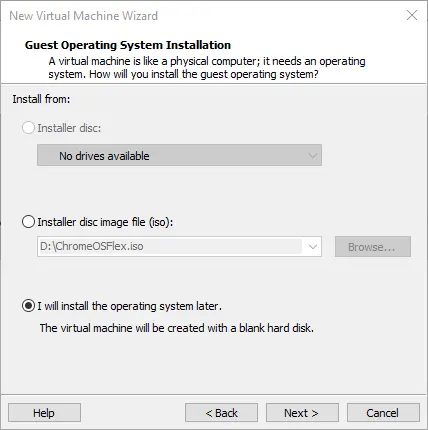
3.1 Choose "Typical" and click "Next". Then select "I will install the operating system later" and click "Next".
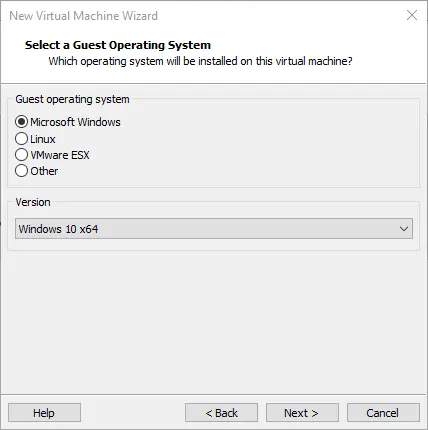
3.2 Choose the guest operating system type and version that matches the OS on your bootable USB.
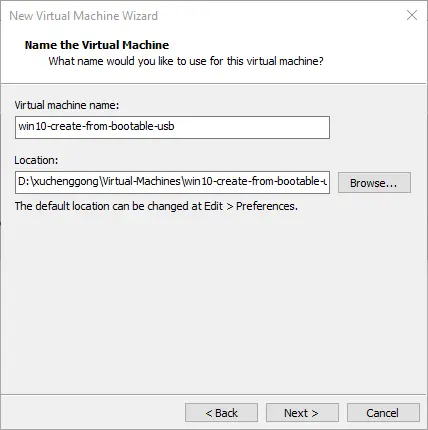
3.3 Enter a name for your virtual machine and choose a location on your hard drive to store the VM files.
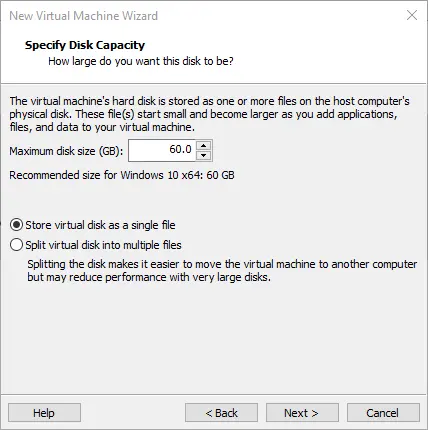
3.4 Set the disk size according to your needs and select "Store virtual disk as a single file".
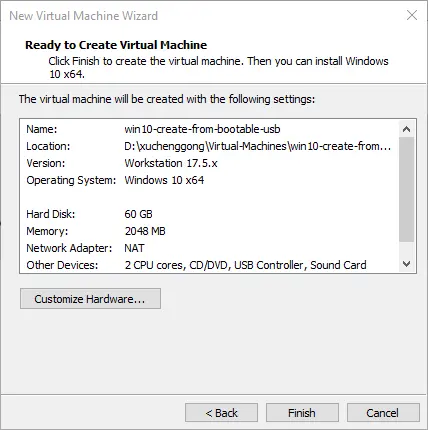
3.5 Click the "Finish" button to complete the initial setup of your virtual machine.
Part 2: Adding USB Bootable Disk as Virtual Hard Disk
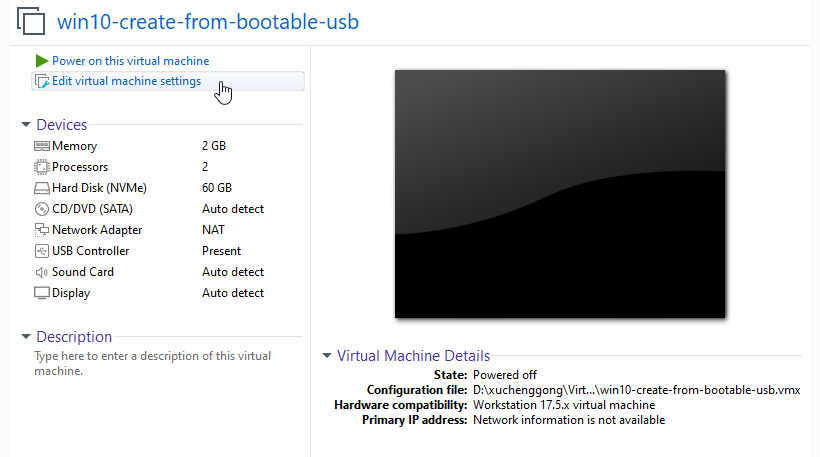
Step 4: Select your newly created virtual machine and click "Edit virtual machine settings".
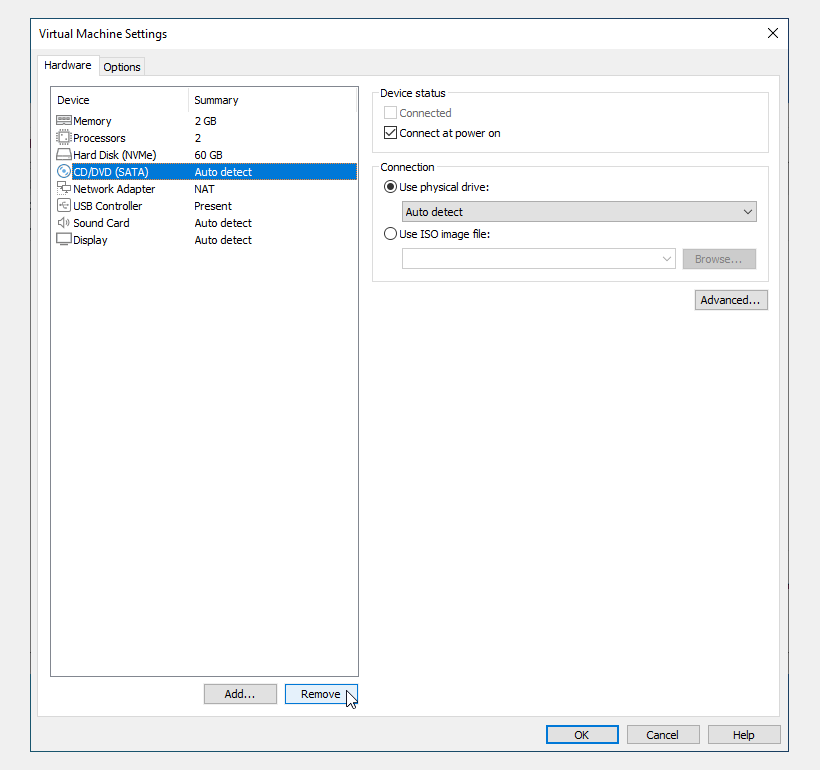
Step 5: Find and remove the "CD/DVD (SATA)" device to avoid conflicts.
Step 6: Add a new hard disk.
6.1 Click "Add" to open the hardware wizard.
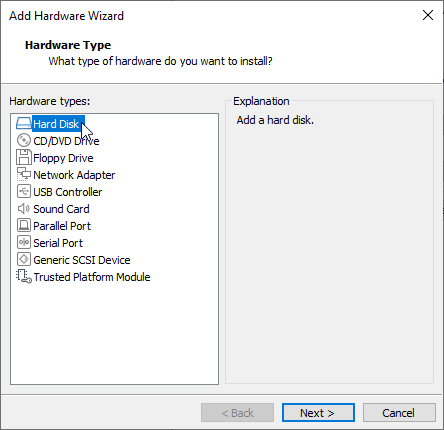
6.2 Choose "Hard Disk" and click "Next".
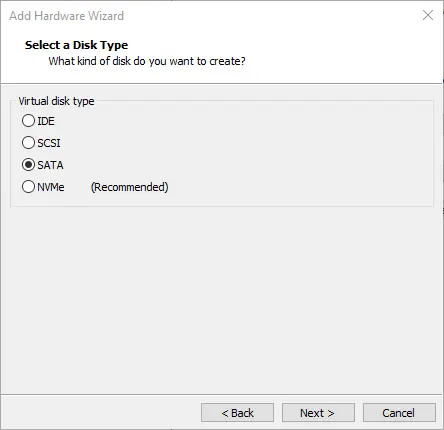
6.3 Choose "SATA" as the virtual disk type and click "Next".
6.4 Select "Use a physical disk (for advanced users)" and click "Next".
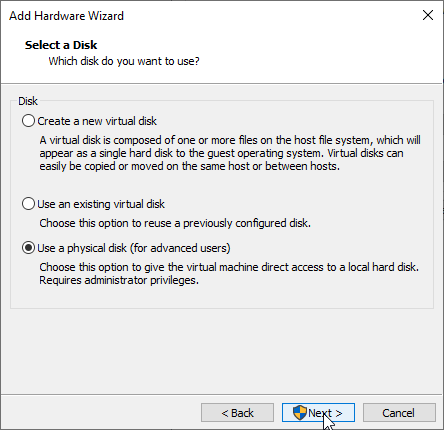
Note: You need to run VMware as administrator to achieve sufficient permissions.
6.5 Choose your USB drive from the drop-down list.
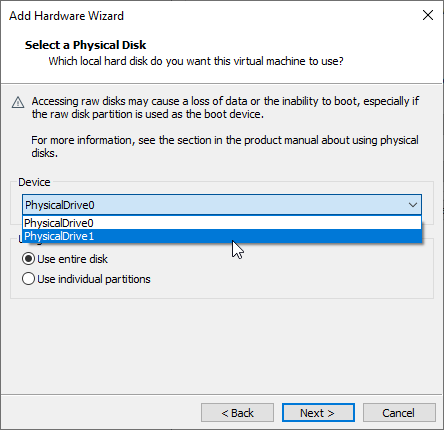
Note: If the USB drive is not appeared, try to restart the VMware.
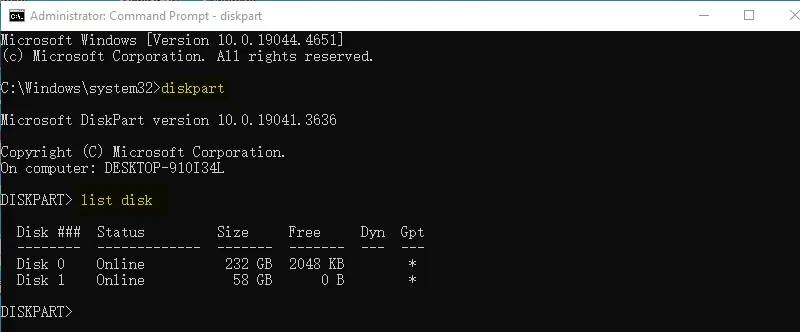
Tip: You can use "diskpart" tool list disk command to determine which one is your USB flash drive.
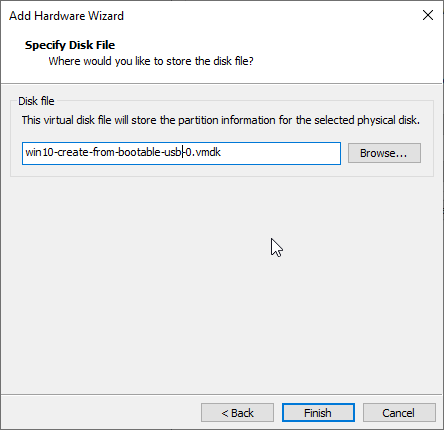
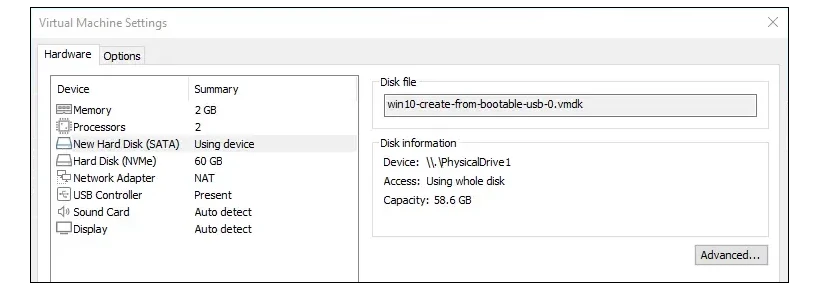
6.6 Provide a name for the disk file and complete the setup.
The final setup should show your USB drive listed as a new hard disk in the virtual machine's hardware settings.
Part 3: Booting the Virtual Machine and Installing the Operating System
Step 7: Start your virtual machine by clicking "Power on this virtual machine".
Step 8: Follow the on-screen prompts to boot from the USB drive and begin the OS installation process.

Summary
Creating a VMware virtual machine from a bootable USB is a straightforward process that involves setting up a new VM, configuring it to recognize your USB drive as a bootable disk, and following the installation prompts. This guide has outlined each step to help you achieve this setup efficiently. By using these instructions, you can create a flexible and isolated environment for testing and development, making the most out of your virtual machine and bootable USB.