How to Install Windows 11 23H2 on VMware Workstation

December 4, 2023
Although Windows 11 23H2 has been around for a while, many users are still unable to match the system requirements due to outdated devices. The system performs terribly and slowly even when the TPM and CPU tests are bypassed during installation.
This article offers a new method to experience Windows 11 version 23H2 with less hard drive space. So, how to install Windows 11 23H2 on a VMware workstation? Simply follow this method!
How to Install Lightweight Windows 11 23H2 on a VMware Workstation?
Part 1: Download Tiny11 23H2 ISO
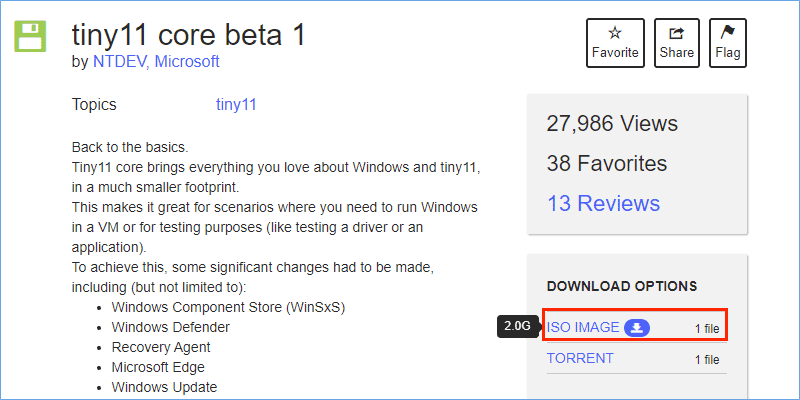
Tiny11 23H2 ISO is developed based on Windows 11 23H2, a lightweight version of Windows 11, removing some unnecessary components and keeping the core features, like Copilot, native RAR support, the new volume mixer, and so on. And the total ISO only takes up 2GB.
Step 1: Download Tiny11 23H2 ISO > Find DOWNLOAD OPTIONS in the right panel > Click ISO IMAGE to download.
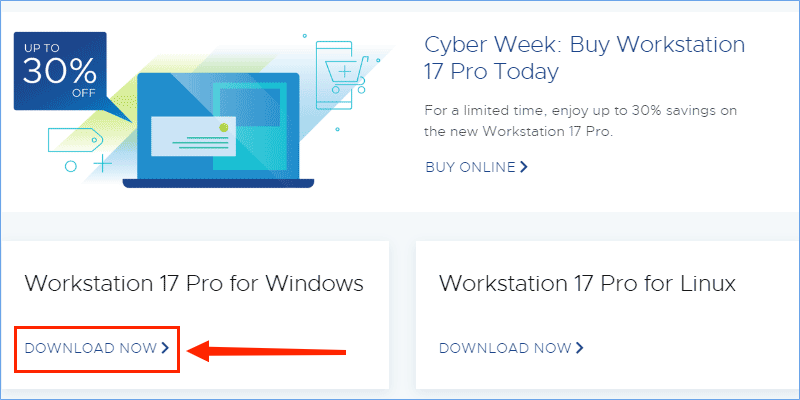
Part 2: Download VMware Workstation
Step 1: Download VMware Workstation > Scroll down and find Workstation 17 Pro for Windows > Click DOWNLOAD NOW.
Step 2: Double-click to run the VMware installation, and follow the instructions to install.
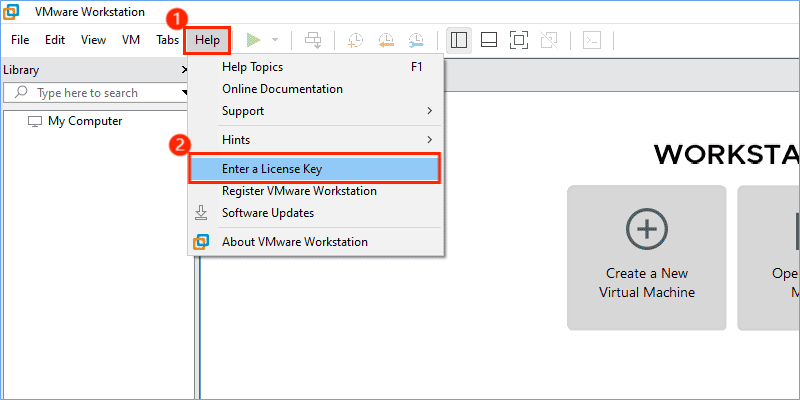
Note: You should activate the VMware workstation with the license key in the installation process. If you haven’t entered it, you can enter with the steps: Help > Enter a License Key.
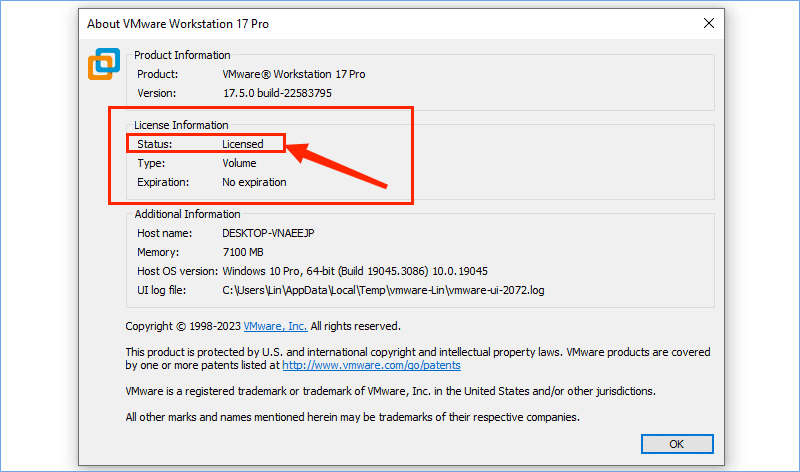
To check if you have activated the VMware workstation: Help > About VMware Workstation.
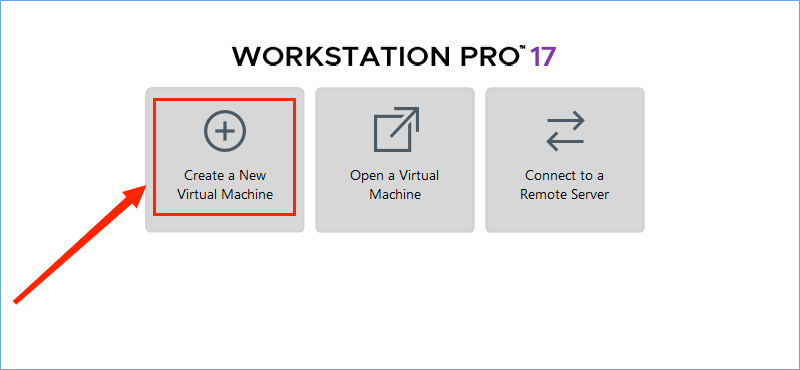
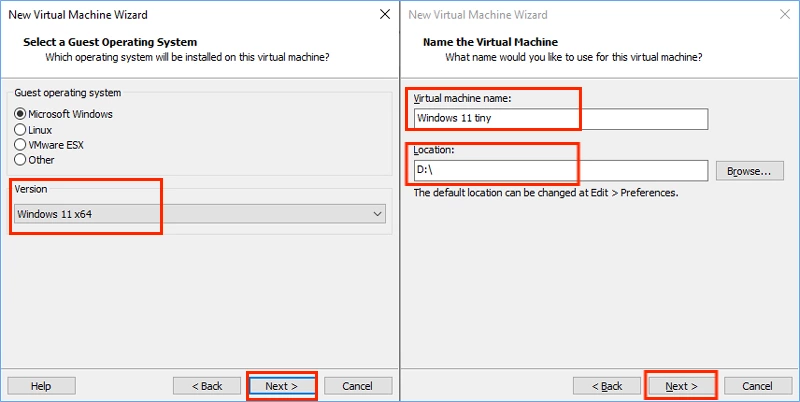
Step 3: Click Create a New Virtual Machine > Typical (recommended) > Installer disc image file (iso) > Browse to the tiny11 23H2 file.

Step 4: Select Windows 11 x64 version > Customize the virtual machine name and the location > Enter a password, then finish the rest of the process.
Part 3: Install Windows 11 23H2 on your Virtual Machine
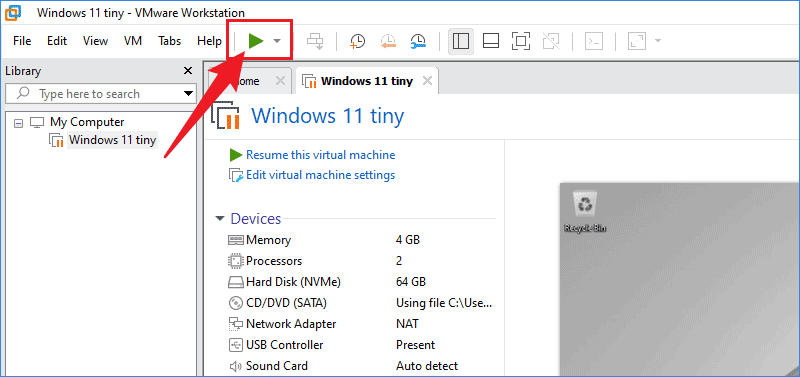
Step 1: Start up this guest operating system and wait a few minutes to load.
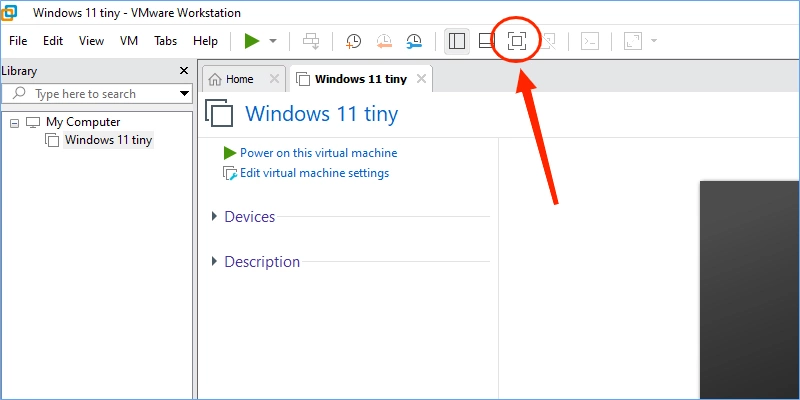
Step 2: After loading, you can see the setup page, click to enter full-screen mode for a better look, and then you can follow the instructions to install Windows 11 23H2.
When you finish the installation, you can adjust the display settings to run smoothly.
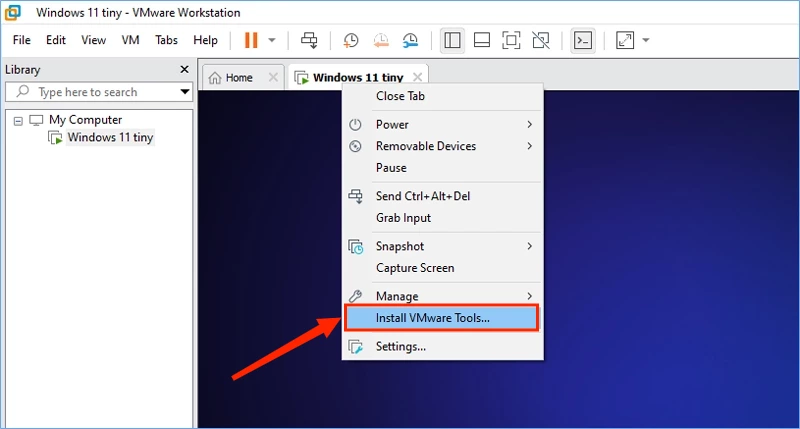
Step 1: Quit the full-screen mode > Right-click the Windows 11 tiny > Install VMware Tools.
Note: The following steps operate on your virtual machine.
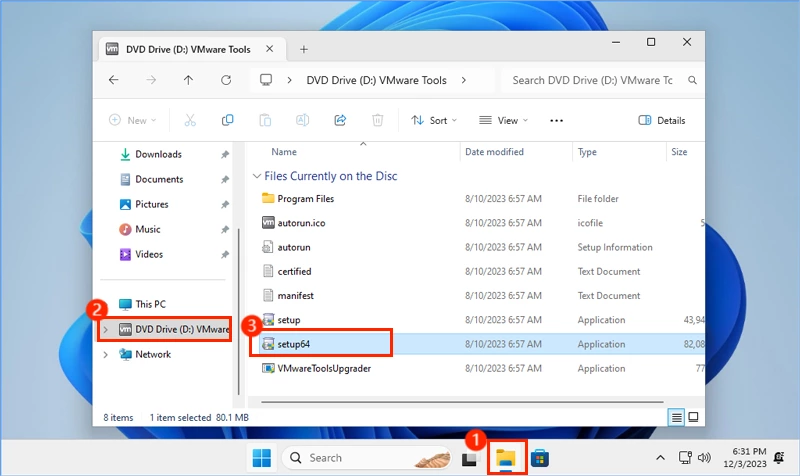
Step 2: Open File Explorer > Find DVD Drive > Click setup64 to install.
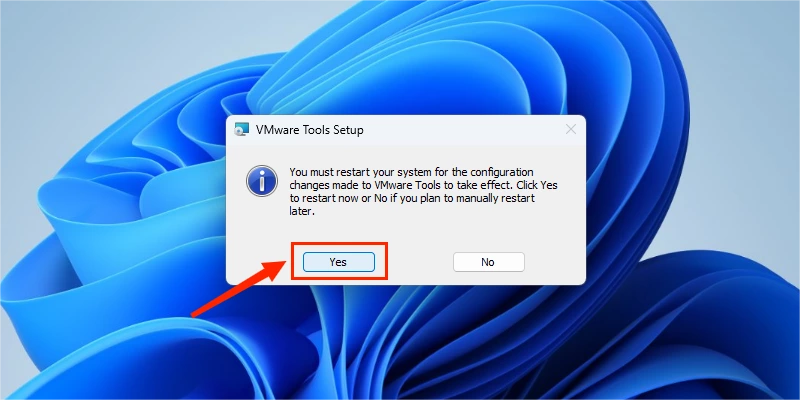
Step 3: After installation, there is a notice asking for a restart, click Yes.
Step 4: Right-click the desktop > Display settings > Adjust to your proper settings.
Now, you can experience Windows 11 23H2 on your virtual machine smoothly.
If you want to install tiny11 23H2 on other old devices using installation media, please refer to the following articles:
Use Ventoy2Disk Install Windows 11 without TPM 2.0/Secure Boot