How to Format Columns in Word 2016

March 4, 2021
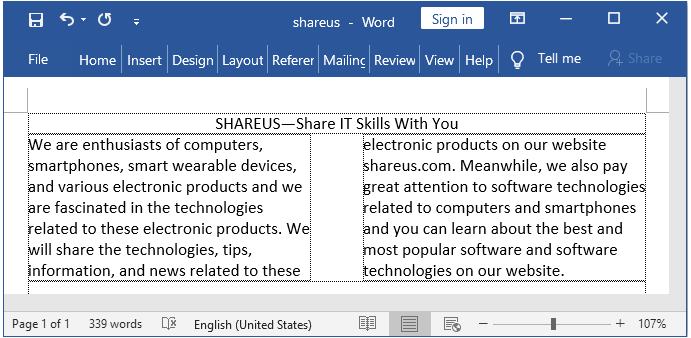
Arranging text into columns is an effective way to make a page more attractive and readable. If you're reading this, you are most probably interested in beautifying your document with columns. Quickly go through this article to know how to format columns in Word 2016 step-by-step.
Before we format columns, we need to figure out how to add columns in Word 2016. Follow this procedure to add columns in Word 2016.
a. When columns are only part of your document, make sure to use the cursor to select the content that needs to be divided into columns.
b. Select "Layout" on the taskbar, choose "Columns", and then choose 2 or 3 columns. In this way, you've set up your column.
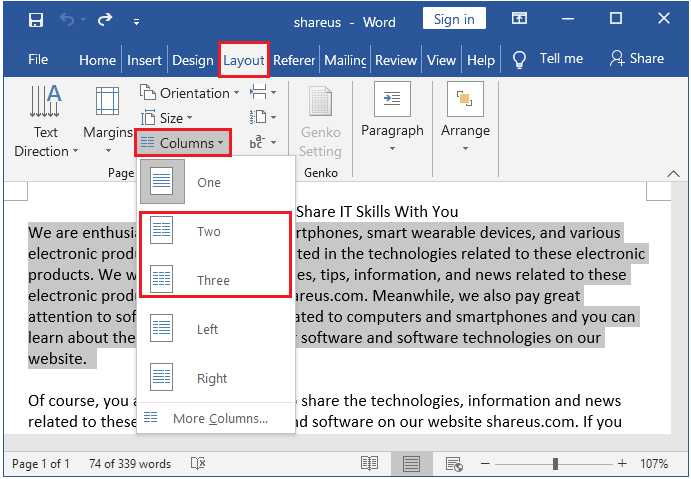
c. If you want more than 3 columns, click on More columns. A window named columns will pop up. Then enter the number of columns in the input box.

d. In the "Apply to" section, select the area you want to divide into columns. If you select a part of text in the first step. It will automatically apply to "Selected Sections". Besides, if you choose "This point forward", the content after the cursor would be divided into columns. Remember to put your cursor at the very beginning of the content first.
1. Adjust the widths and spacing of each column
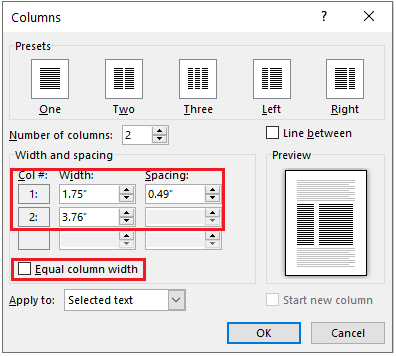
Columns are created equal in width by default. If your columns are not equal in width. You can set it by this way: Layout > Columns > More columns, tick the Equal column width.
Besides, you can change the widths and spacing of each column in the same interface. When there are two columns, you can choose different width in "Presets" section. No matter how many columns you set up, you can also adjust your column widths and custom inter-column spacing in the Width and spacing section. Remember to uncheck "Equal column width" when you adjust the widths and spacing of column.
2. View column boundaries
If you want to see the exact boundaries of columns, show text boundaries would be helpful. You can see the text boundaries in the way below.
a. Click on the "File" tab, choose "Option".
b. In the "Word Options" window, click on "Advanced" in the left navigation pane and then check the Show text boundaries on the right. Click on "OK" button.
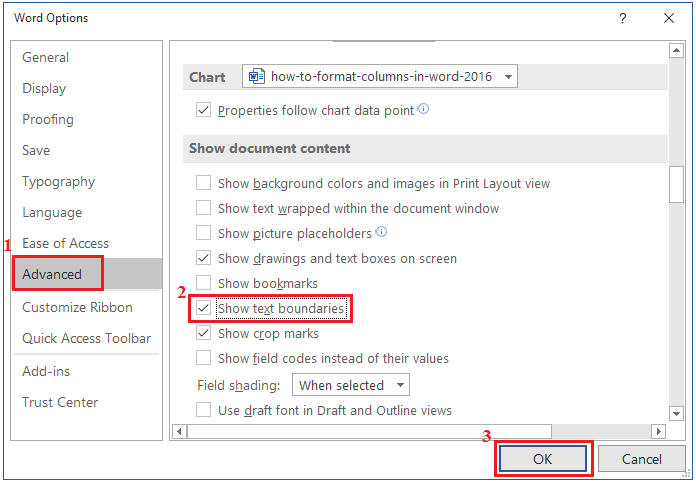
Then you can see the limits of text elements.
3. Insert and delete column breaks
When adding columns, the selected content would flow from one column to the other automatically. If you want to break the column according to textual meaning, column break is quite useful. When placing the cursor in the inserted location, column breaks can force the rest of the text to appear in the next column. Here are the steps to insert a column break.
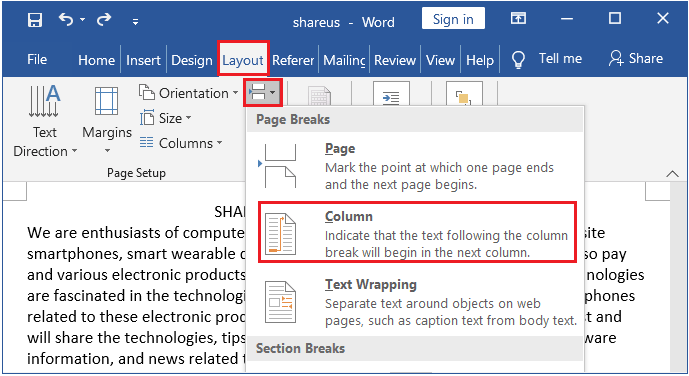
a. Place the cursor where you want to wrap the line.
b. Click the "Layout" tab on the Ribbon. Click Breaks and then choose Column. Then the text following the column break will begin in the next column.
It is also necessary to know how to remove the column break in order to format the column better. Here are steps to delete a column break.
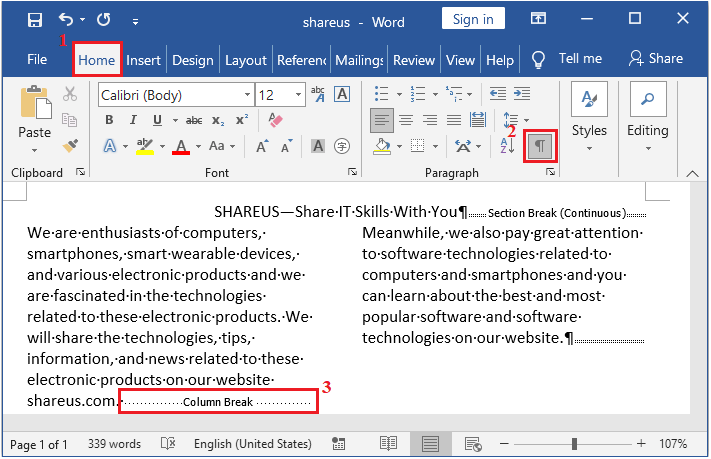
a. The first step to deleting it is to make it visible. Click on the "Home" tab on the Ribbon, click the icon named Show/Hide. Then you can see all the paragraph marks and other hidden formatting symbols.
b. Find the column break you want to delete, select and delete it. You can also delete any other paragraph marks and hidden formatting symbols in this way.
4. Add a continuous break
In most cases, columns look better when it's evenly divided. Adding a continuous break can make your columns even. It not only makes the finished content of the column equally distributed but also when adding new content, Word moves the text between columns to achieve the even effect on both sides. Check how to add a continuous break below.
a. Place the cursor at the end of the column you want to divide evenly.
b. Click on "Layout" tab, choose Breaks > Continuous.

Now, when you add other content to the column, Word would arrange the text between columns to show the even effect. If not, you can click on the "Show/Hide" icon in the "Home" tab to check if there are any other column breaks in it.
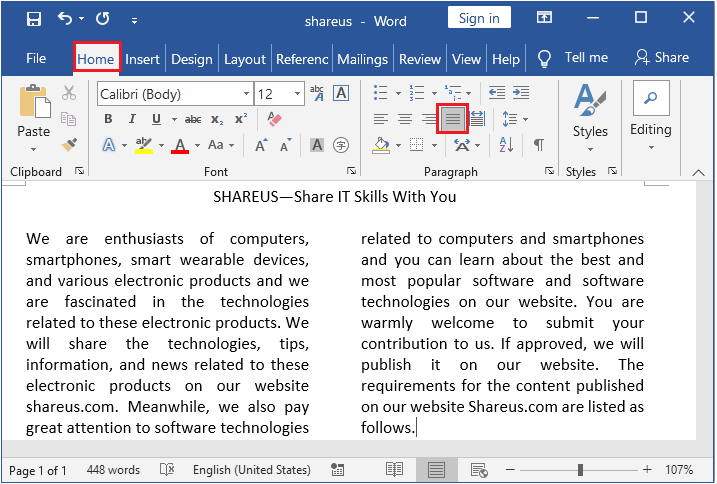
There is a small trick that can make the text in the columns more even. Click on the "Home" tab, click the icon named Justify in the Paragraph group. The picture below is a result after using this trick.
5. Add a line between columns.
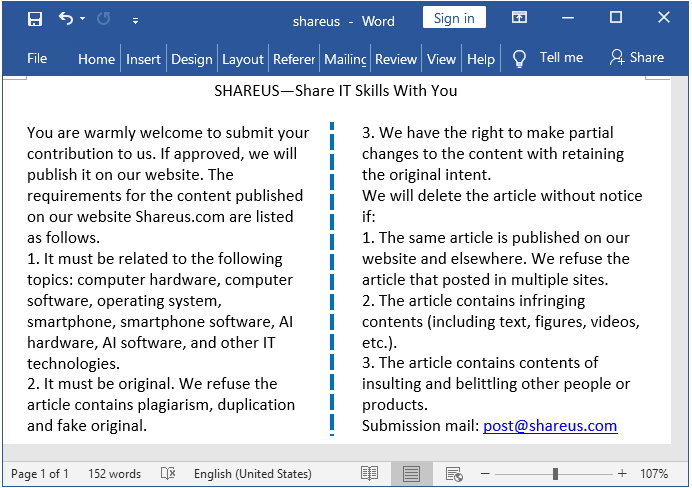
If you want to add a vertical line between the columns, select the Line Between checkbox in the window named "Column".

Please noted that the black straight line between columns couldn't change by default. But actually, there is a trick to add a line with different colors and styles between columns. You can color the line and change its style in the way below.
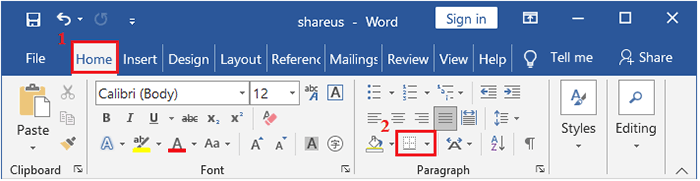
a. Select the left section (or right section) of a column. Choose "Home" in the menu-bar and click the icon in the "Paragraph" category as is shown. Then click on Borders and shadings…
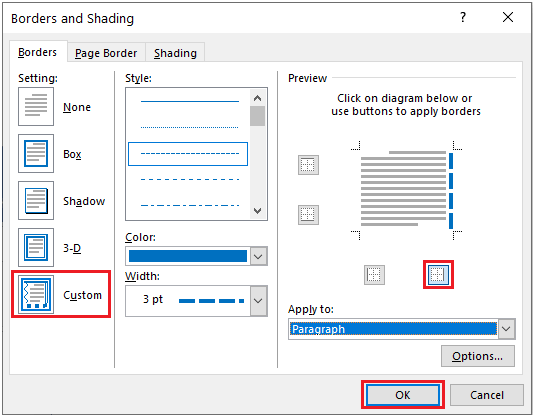
b. In the window named "Borders and Shading", choose the Custom setting, select the style, color, and width you like. In the preview section, click the icon of the right border. (If you select the right section of the column, click the icon of left border). Then click on "OK".
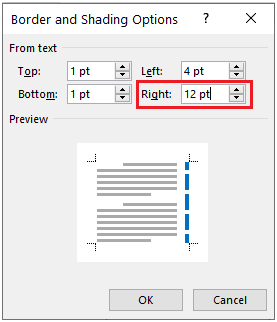
c. A line will be shown between the column. Hold your cursor over the line for several seconds. When the cursor pattern changes to a quasi-cross pattern, move the line to the center of the column. If you find it hard to move the line, you can select the left section of the column again and open the "Borders and Shading" window. Click on "Options" and enter the number to adjust the distance between content and the line.
The picture below is a result after adding a blue line with different style.