Fixed: Error 0xA00F4288 All Cameras are Reserved in Windows 10/11

July 26, 2022

Have you ever had trouble with the error message "Close other apps. It looks like another app is using the camera already. If you need it, here's the error code: 0xA00F4288 AllCamerasAreReserved" when trying to launch the camera application? Even if you close the program using the camera, you cannot get rid of the error? This issue could be aroused by camera permission not granted, outdated camera drivers, corrupt apps and etc. Whatever the cause of this error code on your computer, we have prepared some simple fixes on how to resolve camera app error 0xa00f4288. But before skipping to the solutions right away, check if a system restart can solve the problem.
1. Turn on camera access
Step 1: Press Windows+I to open Settings and select Privacy>Camera.
Step 2: In the right pane, turn on the toggle under Allow apps to access your camera.
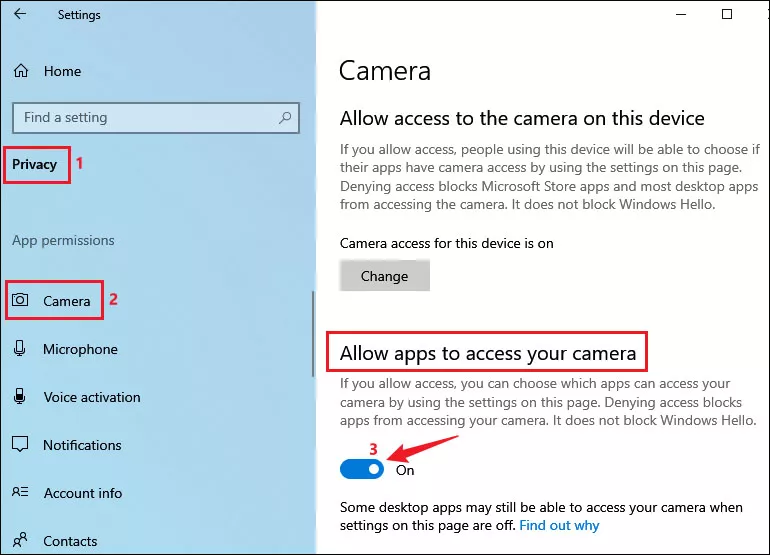
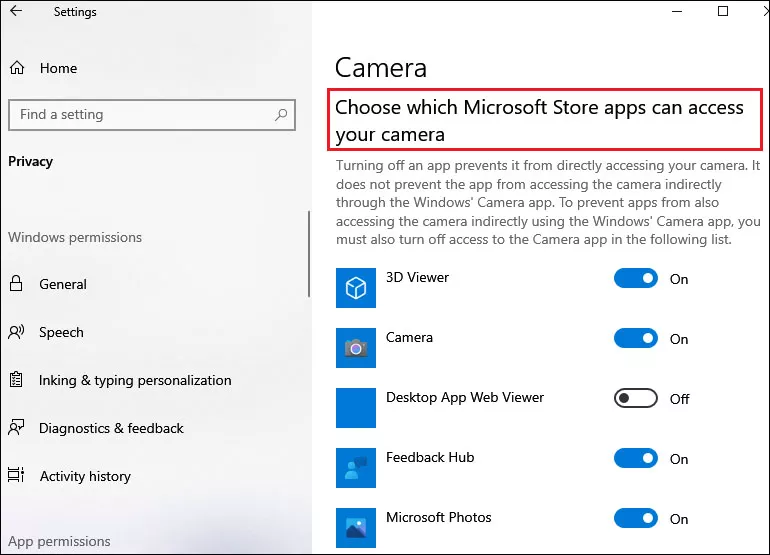
Step 3: Check if the app needed to use the camera has the permission to access it.
2. Reset the camera application
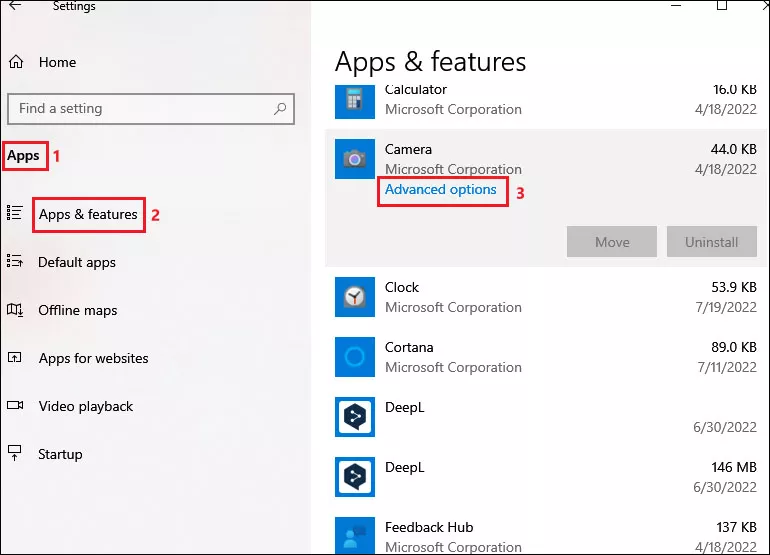
Step 1: Open Settings and select Apps>Apps & features.
Step 2: Locate camera in the right pane and click to expand it. Then click Advanced options.
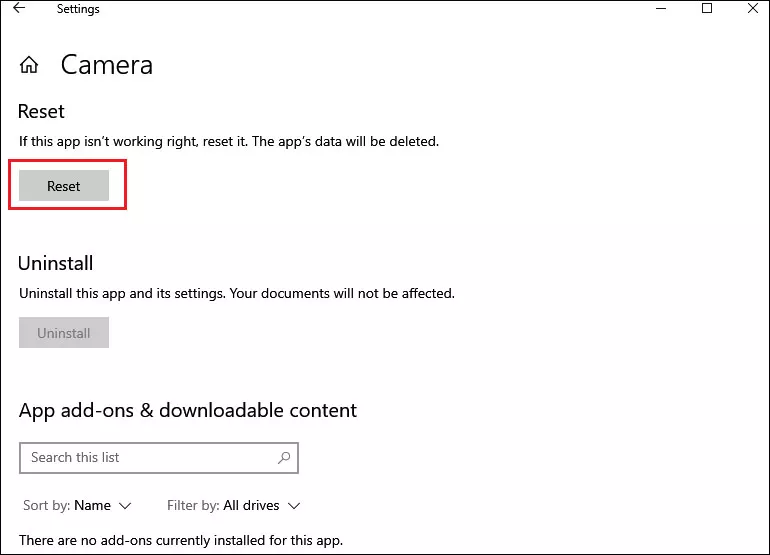
Step 3: Scroll down to select Reset.
3. Run a malware scan
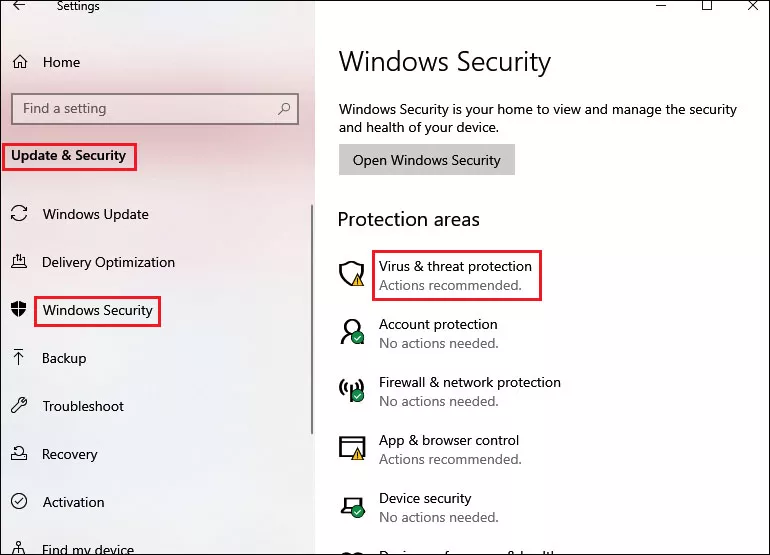
Step 1: Open Settings and select Update & Security>Windows Security.
Step 2: Then select Virus & threat protection in the right pane.
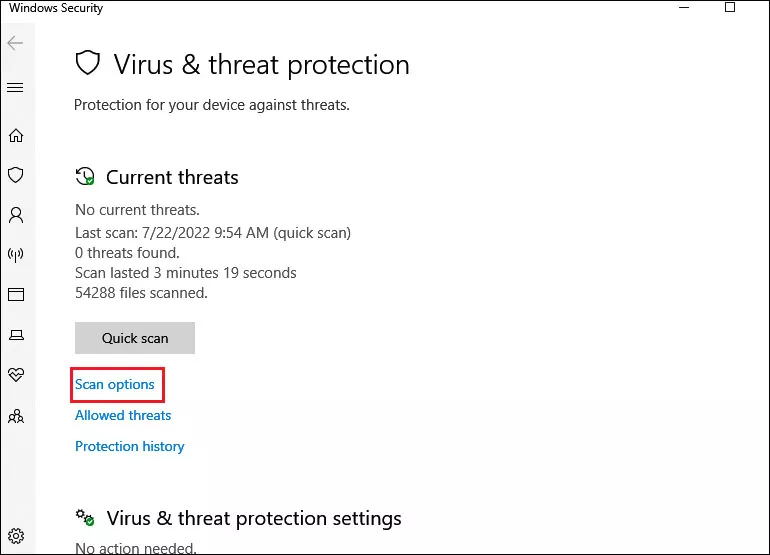
Step 3: Click on Scan options.
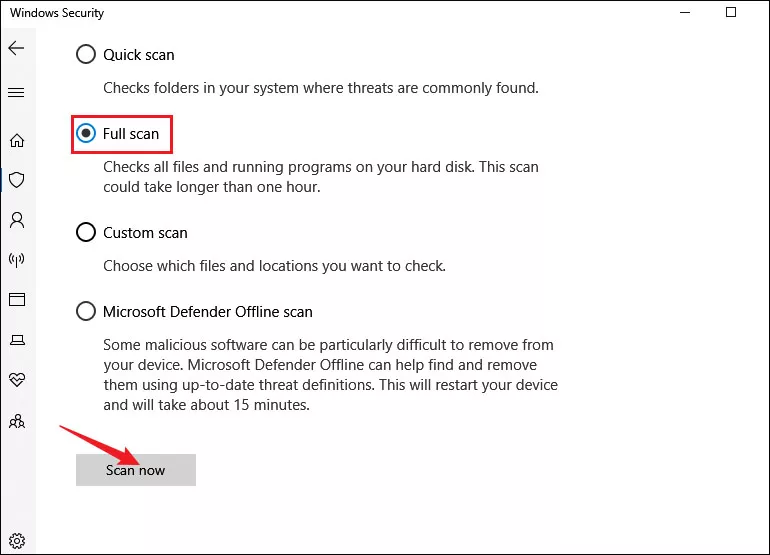
Step 4: Choose Full scan and click on Scan now . Wait until the process completes.
4. Update apps in Microsoft Store
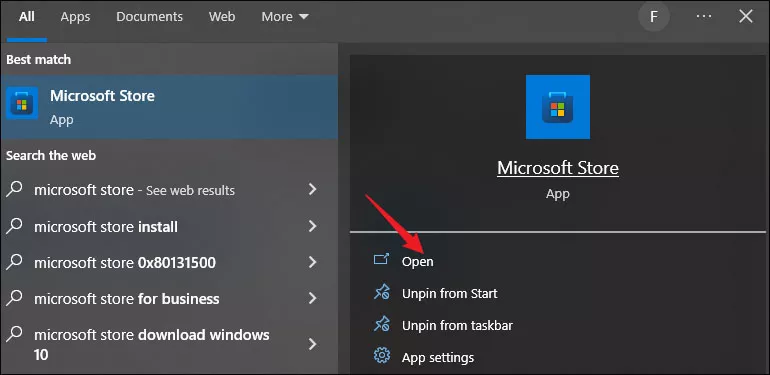
Step 1: Search microsoft store in the search bar and open it.
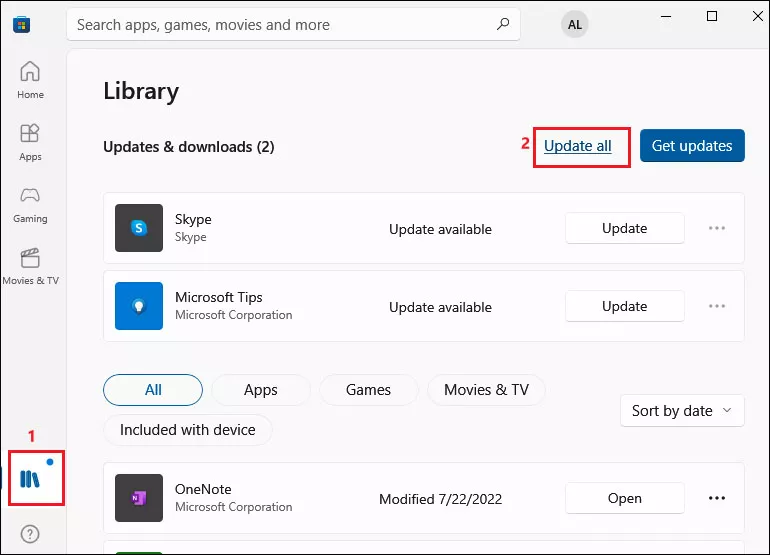
Step 2: In the Microsoft Store window, click on the Library icon.
Step 3: Click on Update all. Wait until you see "Your apps and games are up to date".
5. Tweak the registry value
Step 1: Press Windows+R and type regedit in the open box. Then click OK to open Registry Editor.

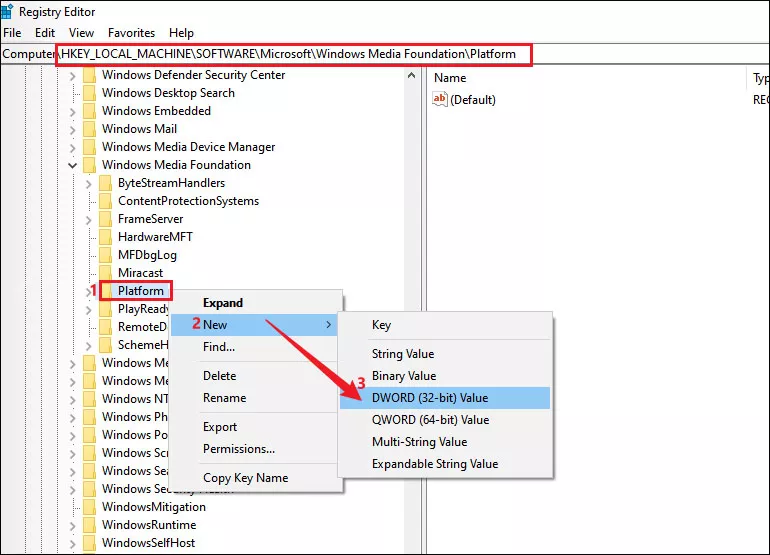
Step 2: Navigate to the given below path:
Computer\HKEY_LOCAL_MACHINE\SOFTWARE\Microsoft\Windows Media Foundation\PlatformStep 3: Right-click on Platform and then select New>DWORD(32-bit) Value.
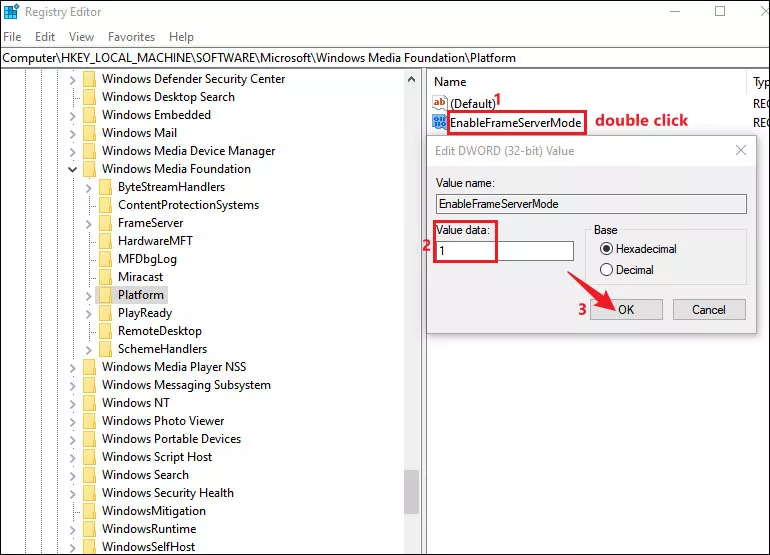
Step 4: Name the newly created value as EnableFrameServerMode and double-click on it. Then set its Value data as 1 and click OK.
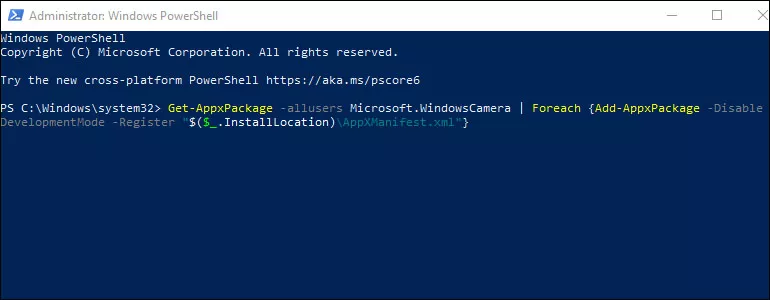
6. Re-register camera
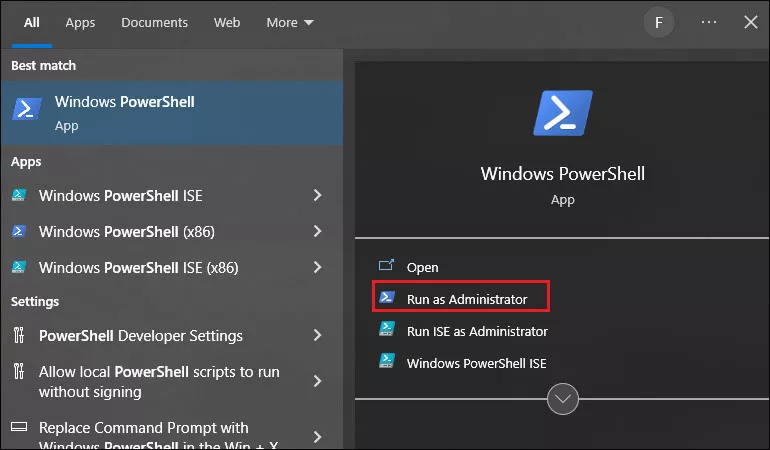
Step 1: Search powershell in the search bar and select Run as Administrator.
Step 2: Copy and paste the following command and press Enter.
7. Uninstall recent updates
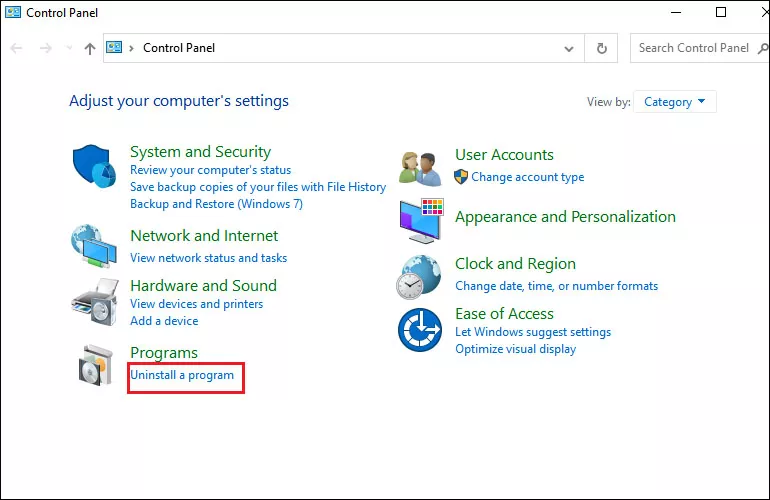
Step 1: Search control panel in the search bar and open it.

Step 2: Click on Uninstall a program.
Step 3: Select View installed updates in the left pane.
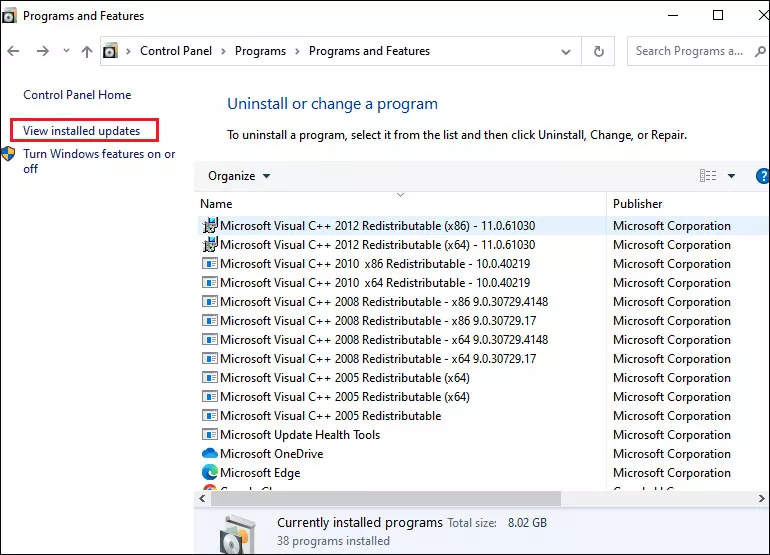
Step 4: Then select the most recent update and click on Uninstall.