Simple Tricks for Backing up and Installing Drivers Using Command Prompt

Windows comes with a built-in command line tool, PnPUtil.exe, which allows administrators to work with driver package, including installing, updating, uninstalling the driver package, etc. The PnPUtil utility has no separate download package and you can view detailed command options in Command Prompt. So, how does it work? This article will introduce pnputil, along with several other useful command line tools, guiding you how to use the Command Prompt to back up and install device drivers.
How to back up drivers?
1. Back up all drivers using pnputil command
Step 1: Press Windows+R to open Run command and input cmd in the box. Then press Ctrl+Shift+Enter to open Command Prompt as administrator.
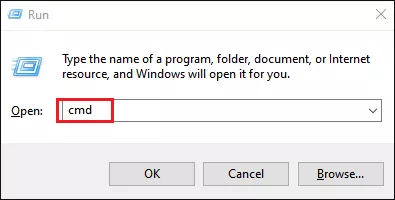
Step 2: To save a copy of installed drivers, you can export driver packages from the driver store into an extra directory, thus you need to execute the command following the below syntax:
pnputil /export-driver * "full path of folder"Note: Replace the full path of folder with the location path of the target folder which you want to store the drivers. Also, you can create a new folder before running the command so that you can copy the folder path more easily. For example:
pnputil /export-driver * "C:\Users\Raten\Desktop\For Drivers\drivers"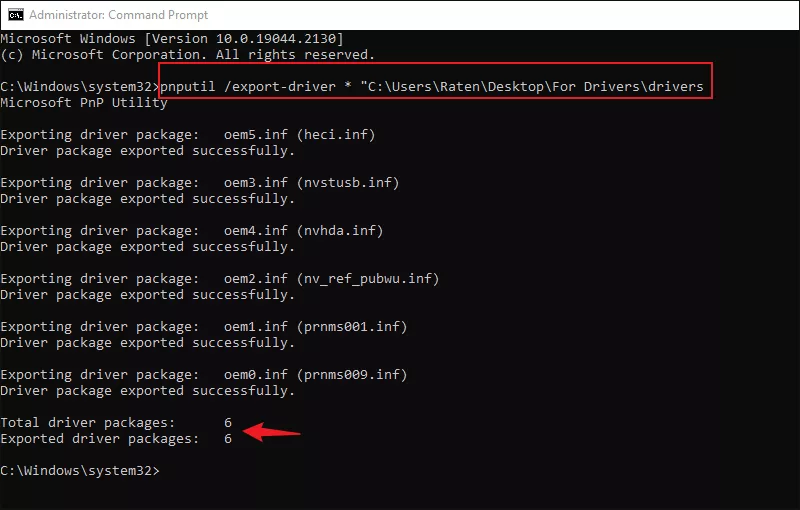
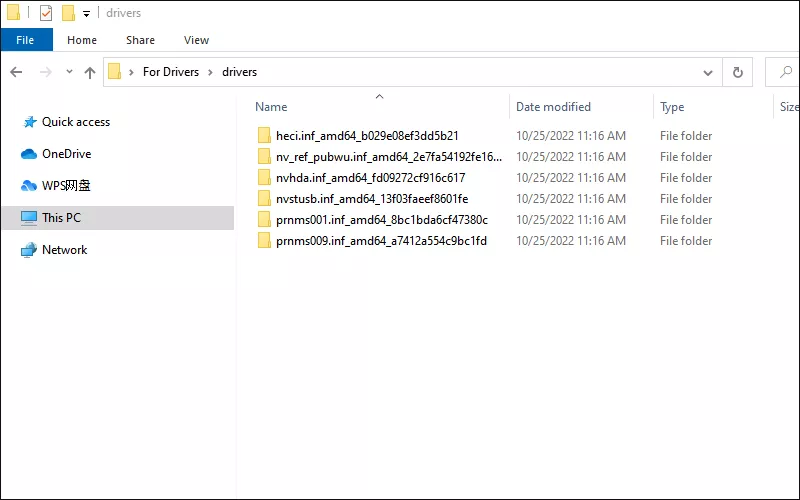
Now, head to the destination folder, you will be able to view the backup of all the drivers.
2. Back up all drivers using DISM command
Step 1: Launch Command Prompt as administrator.
Step 2: Type the following command and hit Enter to run the command line:
dism /online /export-driver /destination:"full path of folder"Note: Substitute "full path of folder" with the actual path of the folder you want to store the drivers. For example:
dism /online /export-driver /destination:"C:\Users\Raten\Desktop\For Drivers\drivers"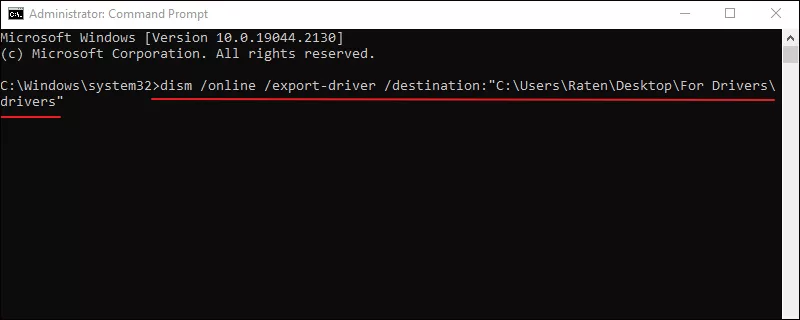
3. Back up all drivers using Export-WindowsDriver command
Step 1: Open Command Prompt as administrator.
Step 2: Input the following command and hit Enter to launch the command line:
Export-WindowsDriver -Online -Destination "full path of folder"Note: Change "full path of folder" to the directory address of the folder you want to save the copy of drivers. For example:
Export-WindowsDriver -Online -Destination "C:\Users\Raten\Desktop\For Drivers\drivers"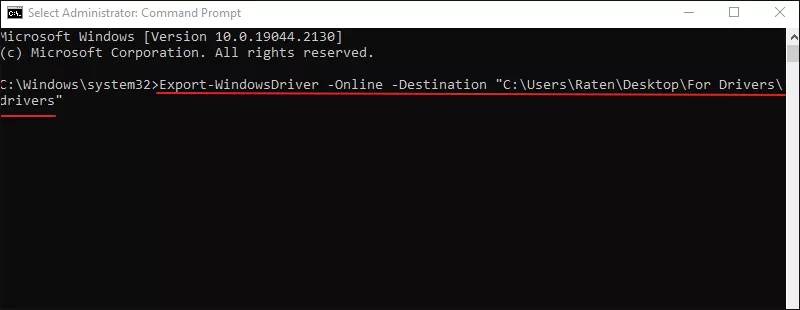
How to install drivers?
PnPUtil utility makes it easy to manage driver packages and if you want to install drivers from the folders, you may use the pnputil /add-driver <driver_path> command. Your Windows computer must be Windows 10, version 1607 and above.
1. Use pnputil command to add multiple driver packages
Step 1: Run Command Prompt as an administrator.
Step 2: Enter the following command to add and install multiple driver packages:
/add-driver "full path to driver\ *.inf" /subdirs /install /reboot- /subdirs– traverse subdirectories for driver packages.
- /install– install/update drivers on any matching devices.
- /reboot – reboot system if needed to complete the operation.
For example, my driver packages are extracted to "C:\Users\Raten\Desktop\For Drivers\win10", then I can enter the command as following. This will help add and install all the driver packages in the path specified.
pnputil /add-driver "C:\Users\Raten\Desktop\For Drivers\win10\*.inf" /subdirs /install /reboot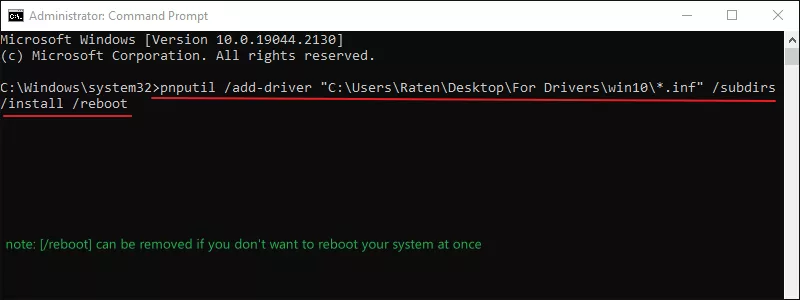
2. Use pnputil command to add individual driver package
Step 1: Start Command Prompt as an administrator.
Step 2: Type the below command line and press Enter to run it:
pnputil /add-driver driverfilename.inf /installpnputil /add-driver PathToDriver.inf /install Note: You need to enter the actual path or name to the INF file of the driver to be installed.
The command will help add and install the driver package specified by <PathToDriver>/<driverfilename>.inf to the driver store.


