How to Install and Back up Drivers Manually on Windows 11

If you do a clean install of Windows, you will need to install drivers for every device on your system. Before doing a clean install, it would be a good idea to back up your drivers so that you can easily restore them if you need them afterward. This tutorial will show you how to install and back up drivers on Windows 11.
Part 1: Why Install and Back Up Drivers?
Drivers are software components that enable communication between the operating system and hardware devices. Installing and backing up drivers ensures that your hardware functions properly and is compatible with your operating system.
Outdated or incompatible drivers can lead to performance issues, system crashes, or other stability problems. Installing and backing up the latest drivers can improve the performance and stability of your hardware devices.
By installing and backing up drivers, you ensure that your hardware devices are functioning optimally, secure, and compatible with your operating system. It also provides a safety net in case you need to reinstall or troubleshoot your system.
Part 2: How to Install and Back Up Drivers?
You can determine which drivers are missing or outdated on your computer by checking the Device Manager in Windows or by using the Driver Update tool. Remember to ensure that the correct drivers are downloaded for your system. The following will show you two ways to install and back up drivers:
Way 1:Install and Back Up Drivers by pnputil Command
The pnputil command is a built-in utility in Windows that allows you to manage device drivers. It can be useful for installing and backing up drivers on Windows 11.
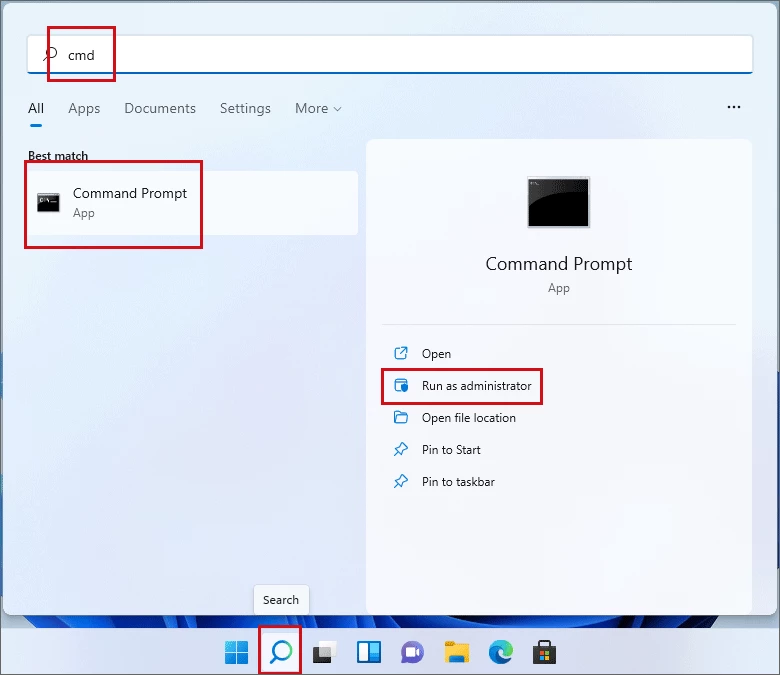
Step 1: Click Search on the taskbar to open the panel, then type “cmd” in the search box to search Command Prompt and click Run as administrator.
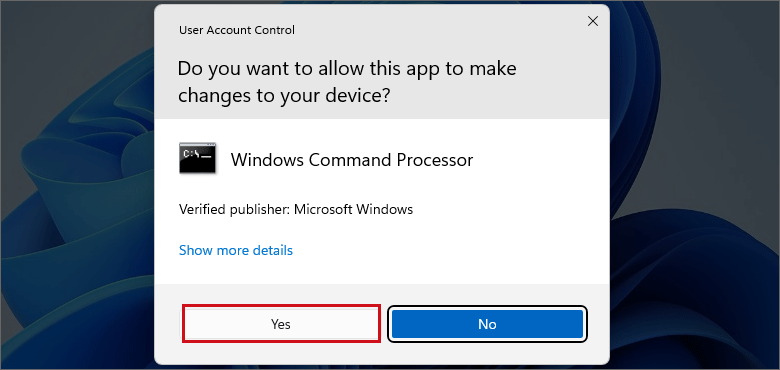
Click Yes to allow the program to make changes to your device.
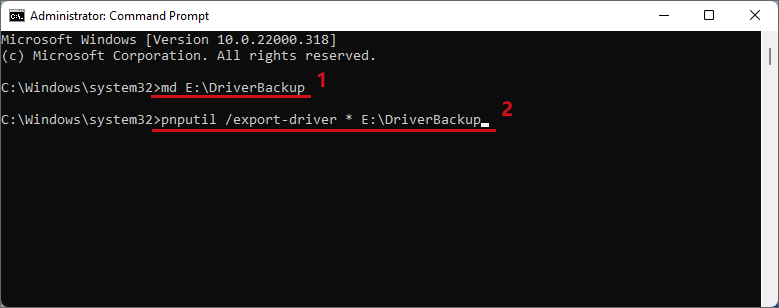
Step 2: The Command Prompt window will open. Type the command: “md E:\DriverBackup” and press Enter to create a new Driver Backup. Then type the command: “pnputil /export-driver * E:\DriverBackup” and press Enter to back up drivers in the Driver Backup folder.
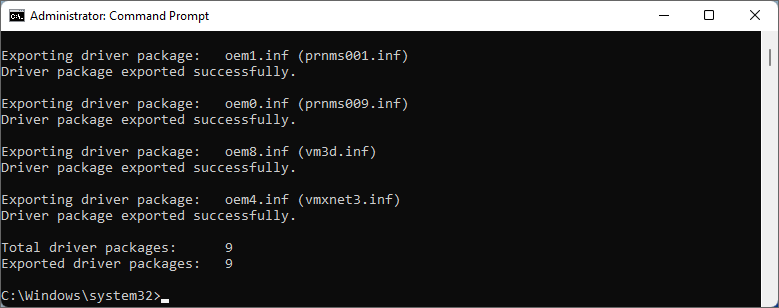
Back up drivers successfully.
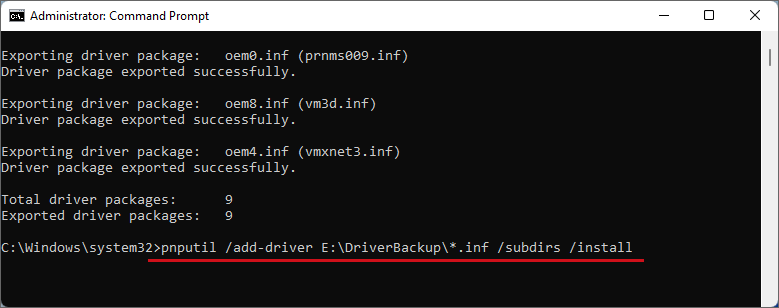
Step 3: Type the command: “pnputil /add-driver E:\DriverBackup\*.inf /subdirs /install” and press Enter to install drivers in the Driver Backup.
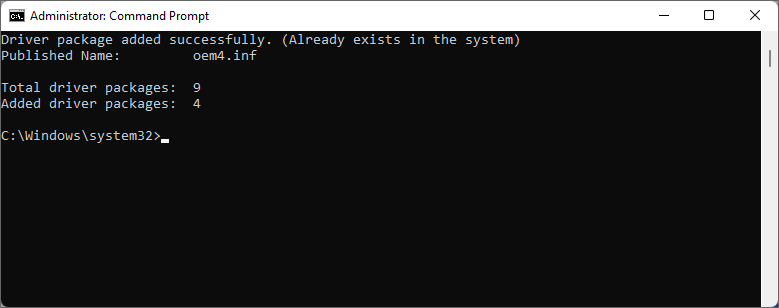
Step 4: Complete to install drivers.
Way 2: Install and Back Up Drivers by DISM Command
The DISM command is useful for updating drivers in existing installations. Follow these steps to open the Command Prompt as administrator and enter the appropriate DISM command to install and back up drivers.
Step 1: Click Search, type “cmd” in the search box, then click Run as administrator to open Command Prompt.

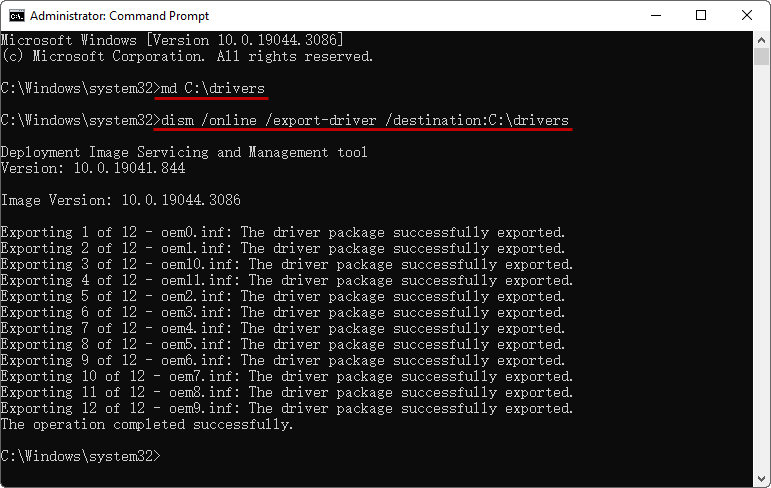
Step 2: On the Command Prompt window. Type the command: “md C:\drivers” and press Enter. Then type the command: “dism /online /export-driver /destination:C:\drivers” and press Enter. Export all driver packages.
Step 3: Open Advanced Startup to enter the WinRE system.
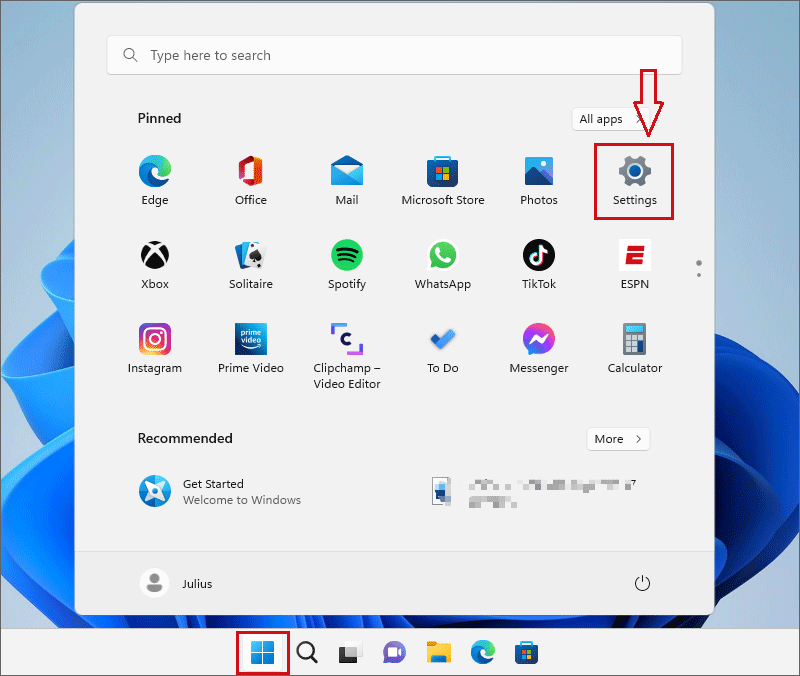
Click Settings on the Start panenl.
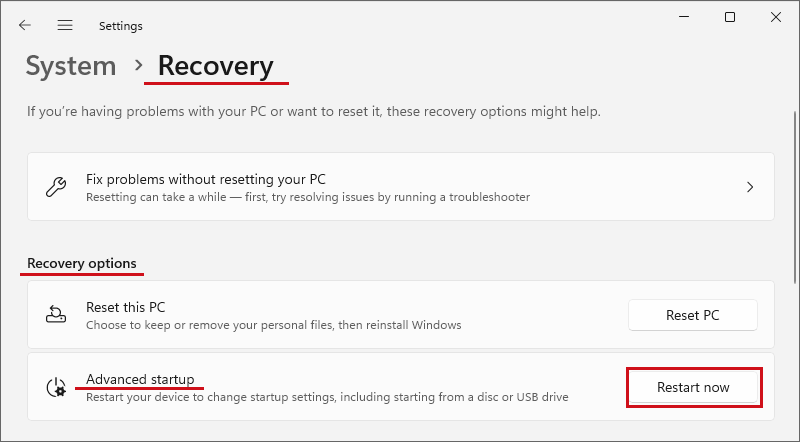
In the Settings window, click Recovery under the System section. Then find Advanced startup and click Restart now on the right.
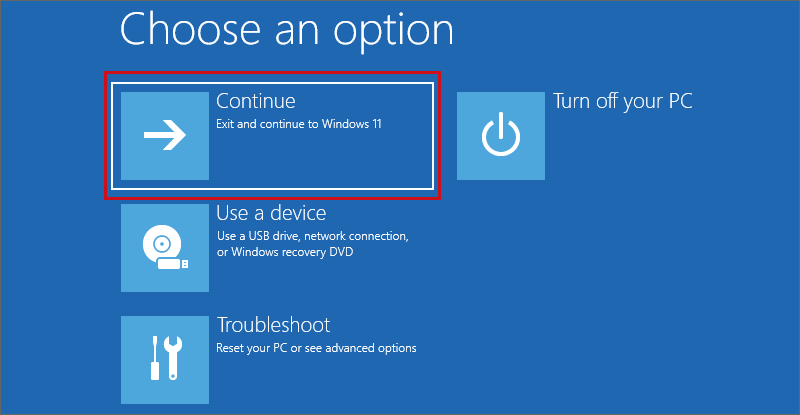
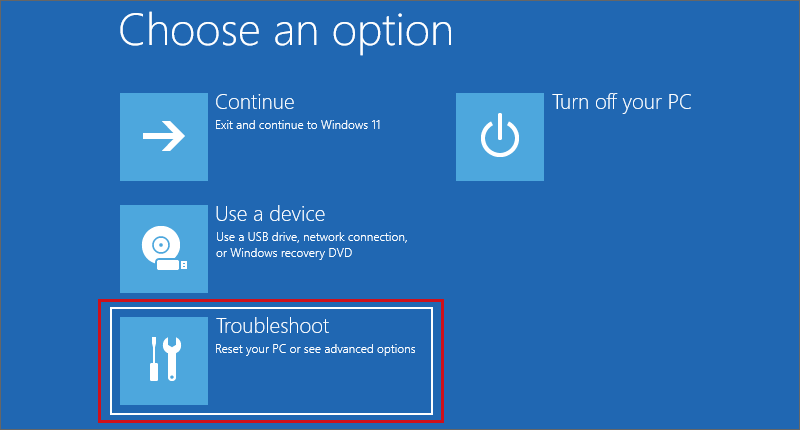
Once you have rebooted, the Choose an option window will open. Click on Troubleshoot.
And click on the Advanced option.

Then click to open Command Prompt.
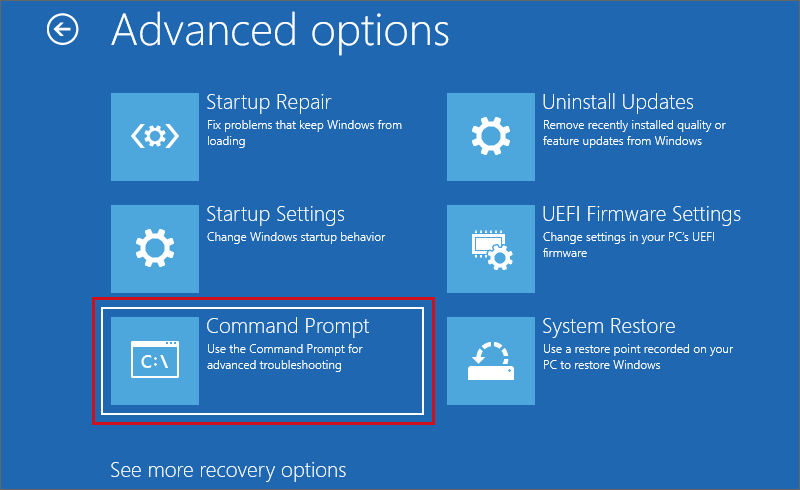
Step 4: On the Command Prompt window, type the command: “diskpart” and press Enter to open the diskpart disk manager. Then type the command: “list volume” and press Enter to list all volumes on the disk.

Check that the system disk is the C drive.

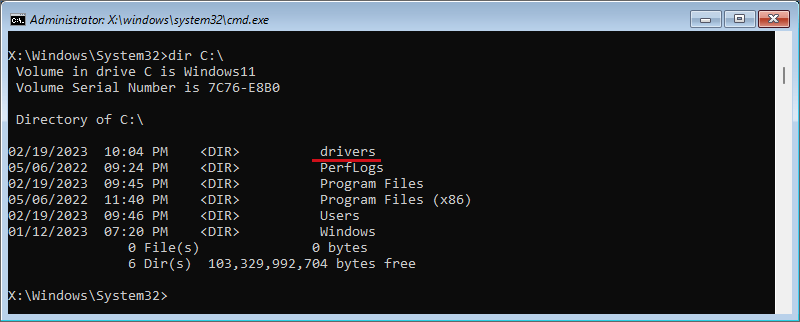
Step 5: Type the command: “exit” and press Enter to exit diskpart Disk Manager. Then type the command: “dir C:\” and press Enter.
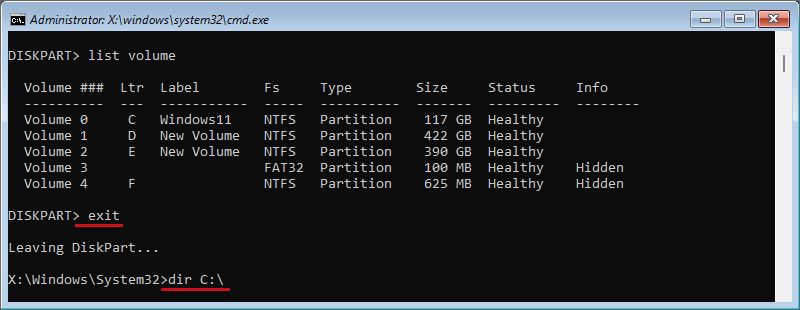
Check the existence of the “drivers” folder under the C drive.
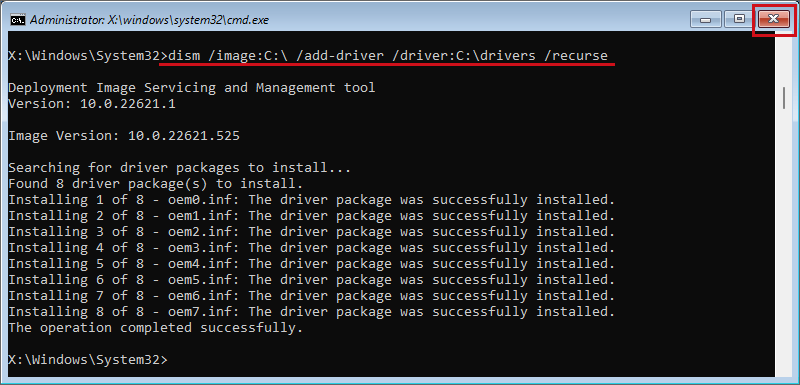
Step 6: Type the command: “dism /image:C:\ /add-driver /driver:C:\drivers /recurse” and press Enter to install driver packages. Then close the CMD window.
Step 7: Click Continue to return to Windows 11.
