How to Install WordPress Locally on Windows 10 Using XAMPP - Step by Step
From the beginning, let's talk about why to create local WordPress site using XAMPP. As far as most concerned, there are two main reasons: 1. Local WordPress does not require network; 2. Local WordPress can work faster with fewer settings. For convenience and offline usage, in this article, we are going to introduce you how to install WordPress locally on Windows 10 using XAMPP step by step.
Step 1: Download and install XAMPP for Windows 10
Download:XAMPPThen double-click the application to start XAMPP setup.
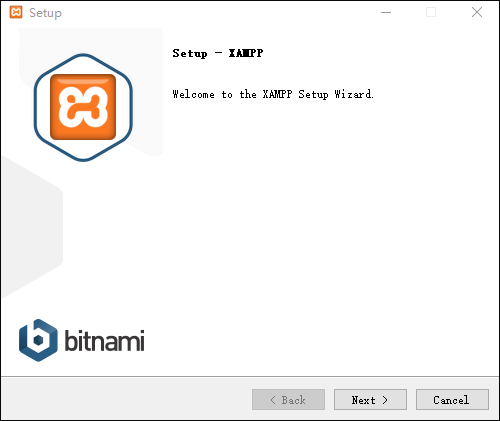
Choose components and language, click Next until it finally starts installing.
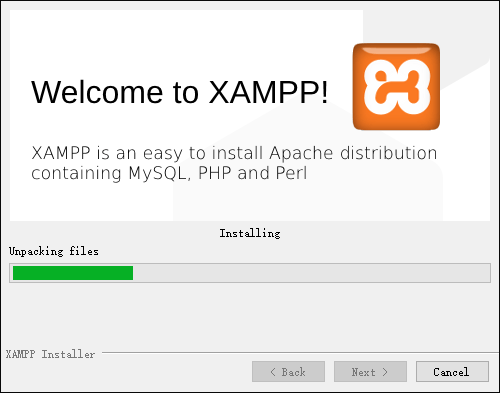
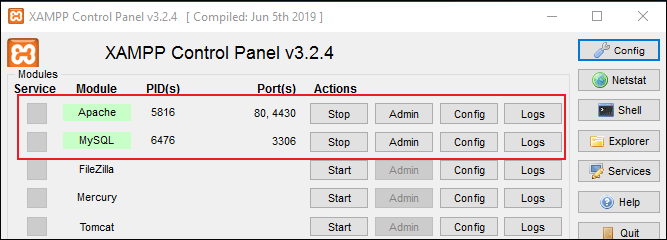
After installation, run XAMPP as administrator. Click Start for both Apache and MySQL modules. But ATTENTION please! It's necessary to make some adjustment for ports to avoid conflict.
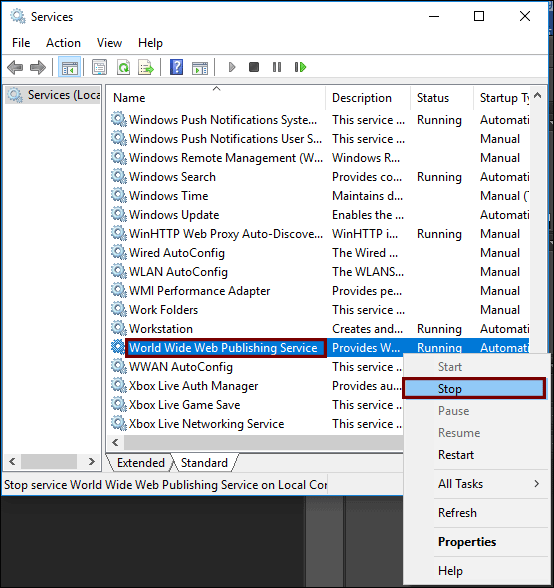
First, stop World Wide Web Publishing Service to set port 80 free which Apache needs:
1. Press Win + R, and enter services.msc to open Services;
2. Find World Wide Web Publishing Service, right-click it and choose Stop.
Second, change port 443 to 4430 for Apache:
1. Click Config of Apache;
2. Choose Apache (httpd-ssl.conf);
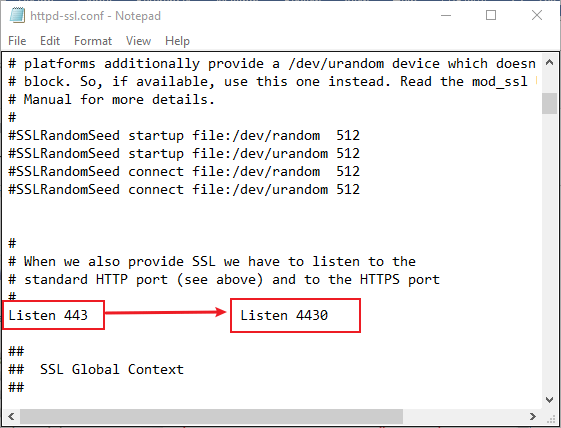
3. Find line "Listen 443", and change it to "Listen 4430".
Step 2: Download WordPress for Windows 10.
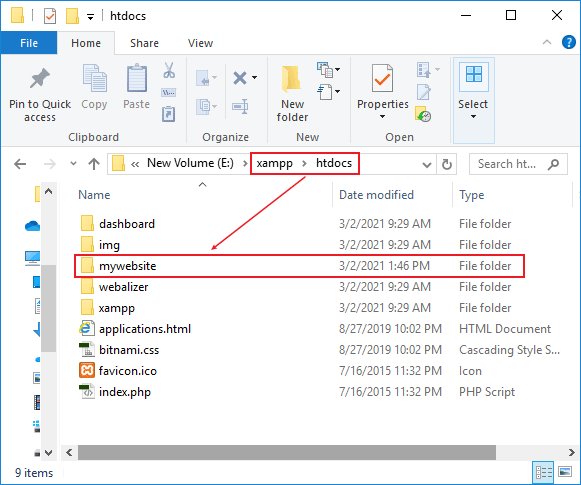
Download:WordPressUnzip the archive and there will be a folder named "wordpress".
Copy it to another folder named "htdocs" under XAMPP setup dictionary and rename it, for instance, "mywebsite." But the absolute path varies because people don't save the file in the same location.
Step 3: Install WordPress on Windows 10
First, type URL below into search box in browser:
http://localhost/mywebsite/
"mywebsite" is the file that I just renamed in the last step. Here, everyone should type in their own file name.
This URL leads to WordPress installation.
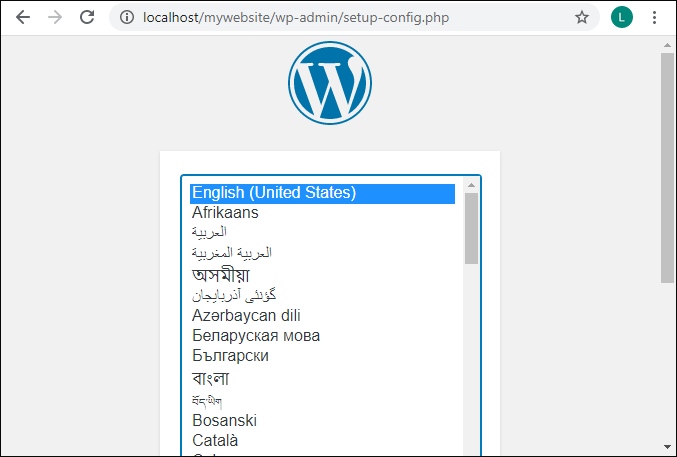
Choose language and click "Continue."
Before going to next step of installation, this webpage will remind users to get some information like database name and so on.
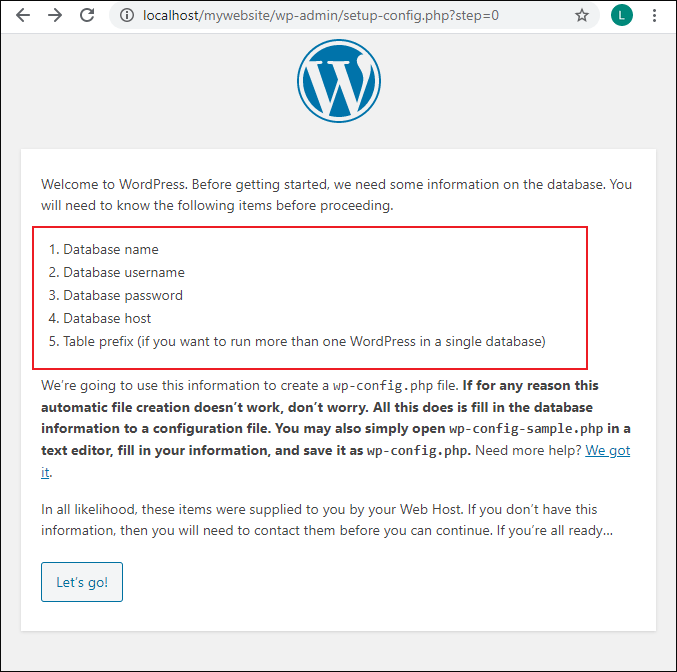
Therefore, we need to create a database for WordPress website.
Open a new tab on browser and type URL: http://localhost/phpmyadmin/
XAMPP will launch pre-installed phpMyAdmin, a software managing database.
Input a name for new database and click Create.

Successfully created database, and return to the interface of WordPress installation and fill the blank.
Database Name is set by user just now.
Username is usually "root" by default. Or user can check it in User accounts tab.
Password is optional.
Database Host should be localhost.
Table Prefix could be set by default.
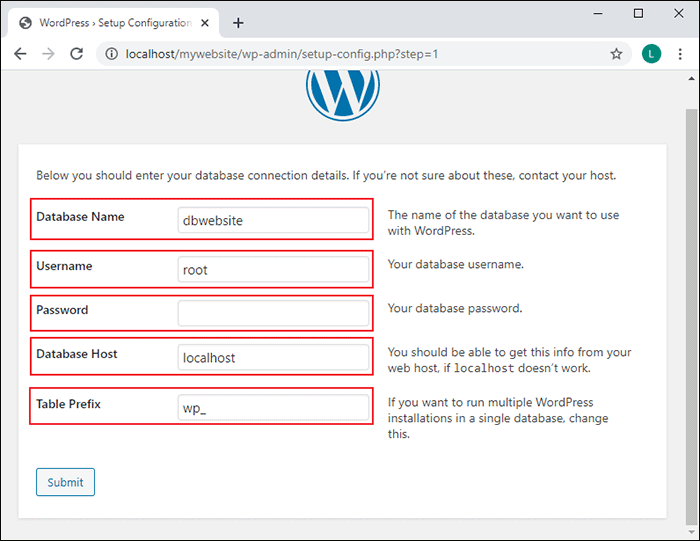
Click Submit and continue.
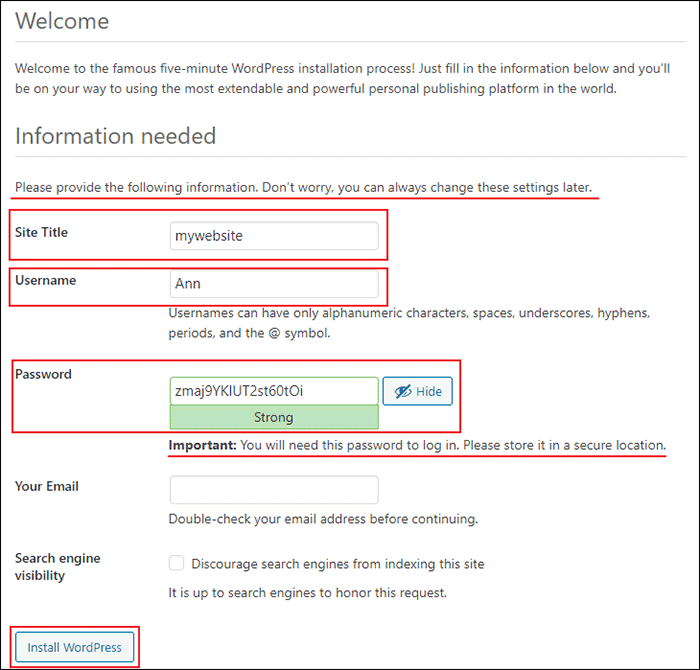
Now provide the following information to get to install WordPress.
Site Title is the title of user's website.
Remember Username and Password which are both needed to log in.
Email is necessary.
Finally, click Install WordPress.
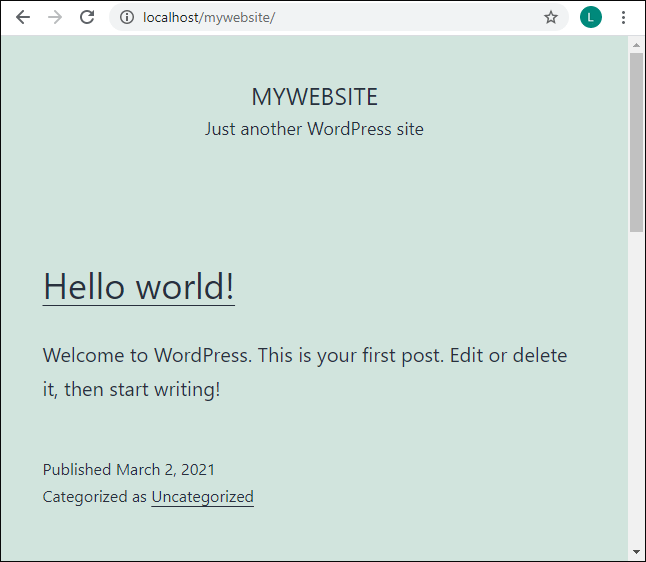
Now, if users are offline, input URL into browser, they can also open their website.
